
Happy Project Life Tuesday!
Sorry for being MIA last Tuesday. I was dealing with a sore wrist and thumb on my right hand and so I gave myself a break from all things computer. :)
Today I’m sharing the remainder of the pages from Luke’s first year baby album – Project Life style, of course! If you’d like to see previous pages that I’ve shared of Caylin’s, Jack’s and the first part of Luke’s album, you can go HERE to see them all. :)
Just as a bit of a reminder (in case you forgot or haven’t seen the previous blog posts), what I decided to do what for Jack and Luke – take ONE 12×12 Project Life album (it’s from the Seafoam edition) and put BOTH of their first year pages in it. I knew I wasn’t going to fill up the album with just Jack’s pages (since I’m a pretty simple scrapper and hate bulky albums, LOL) and so I put both boys’ first year in this album. It does two things – keeps it all super organized and nice so that I can flip through and see BOTH of their first years at a glance. LOVE THAT! And it also eliminates another album which helps because shelf space is limited, ya know? :)
I did do ONE album for Caylin because well, I did all of her pages BEFORE in the traditional scrapbooking style and so I had a TON more pages, photos and details of her and wanted to include them all. I also had SIX years of her life BEFORE I stumbled upon Project Life and so she actually had two albums that includes her first year + years 2-6. :) She’s the only girl, so I guess she’s special like that, too! ;)
The new thing that I did to this album recently is that I added two Project Life page dividers in the beginning of the album (that says JACK) on it and then one in the middle when Luke’s pages start. :)

I like the separation it gives the album and I honestly don’t use these in my regular Project Life family albums because I don’t do monthly – I just do consecutively and so it’s great to put these to use every now and then because they are super cute! Oh, and just a little tip – when you use these – be sure to take the plastic film off of the top of them! ;)
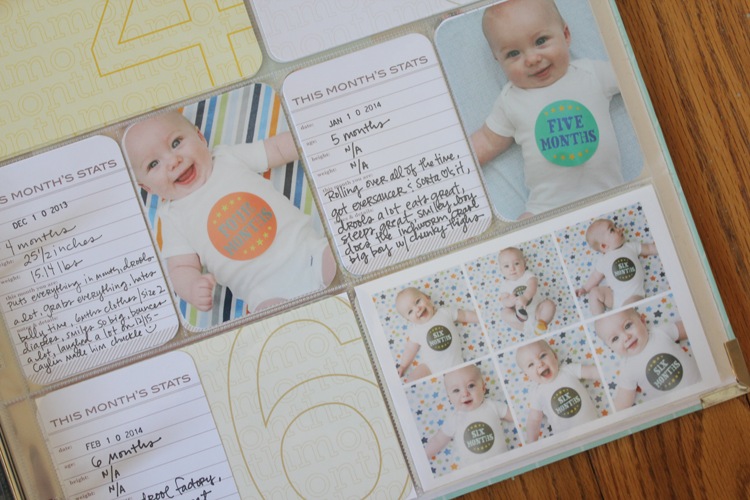
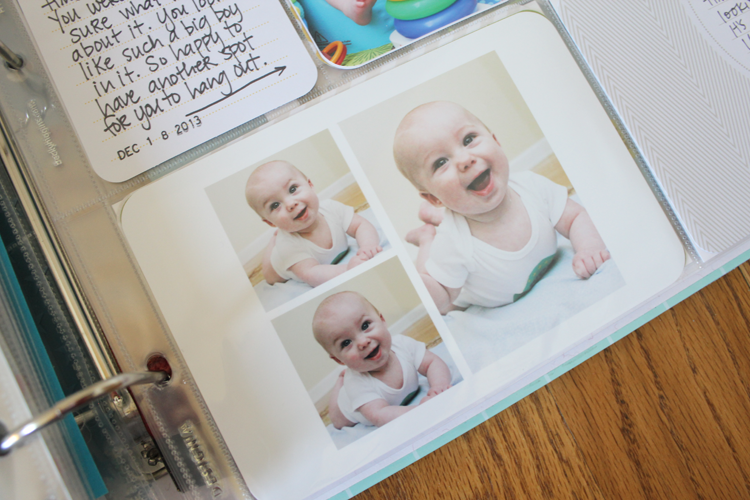
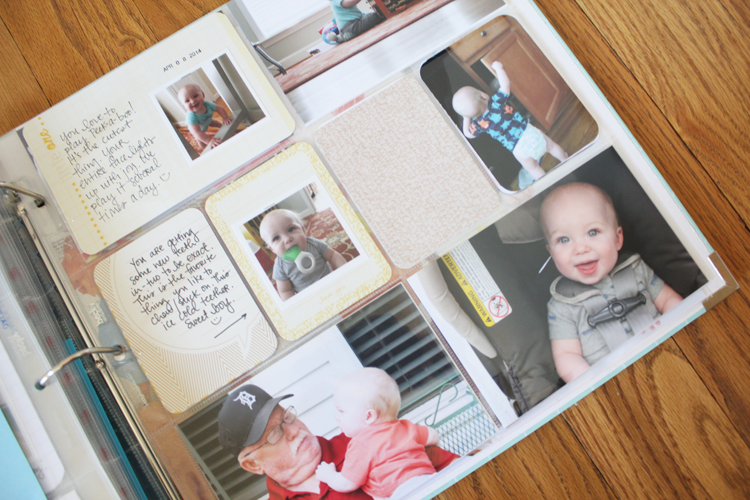
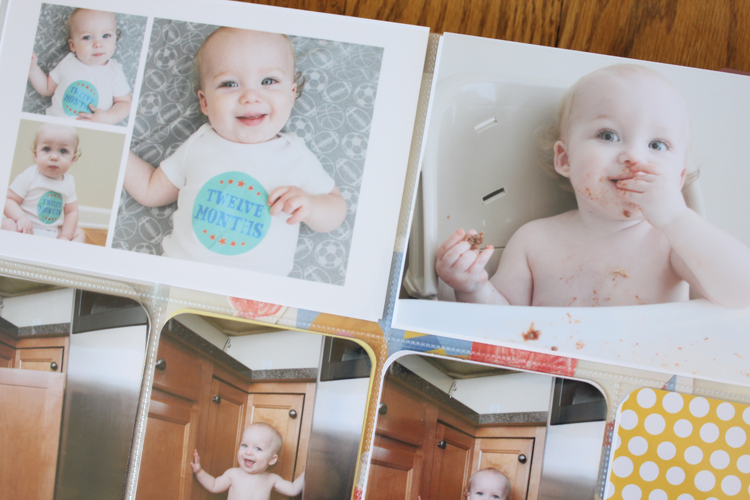
Here’s a quick shot of one of his monthly pages. I still need to get the stats for his 11th and 12th month. Shame on me! Ha! ;)
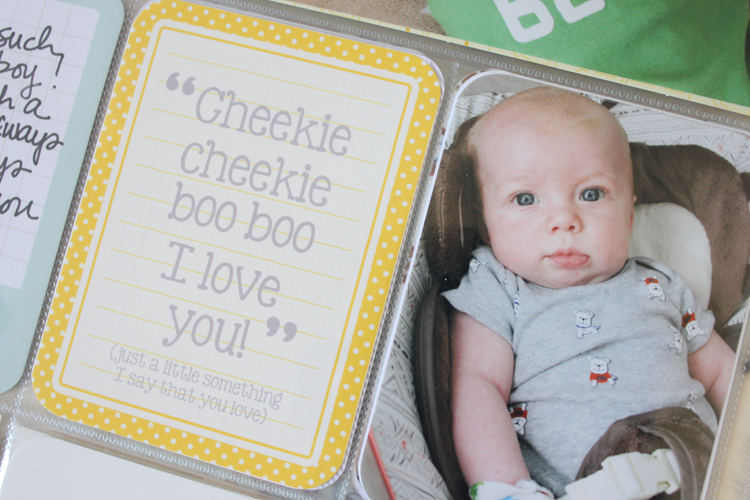
I took a card and just ran it through my printer and printed this little saying on it that I would say that he loved. I didn’t want to forget it. Little things like that are important to add in our albums, I believe. ;)
I also used A LOT of my friend Tracy’s digital photo templates throughout his pages. I am SO happy that I discovered these. I really think it’s a great way to add some variety to your pages. She has SO many different sizes and designs. LOVE them! You can reuse them over and over again – super great investment. You can find them HERE.
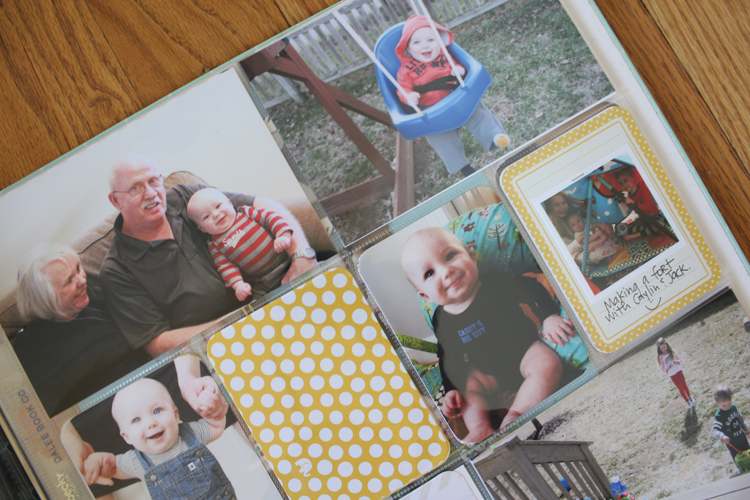
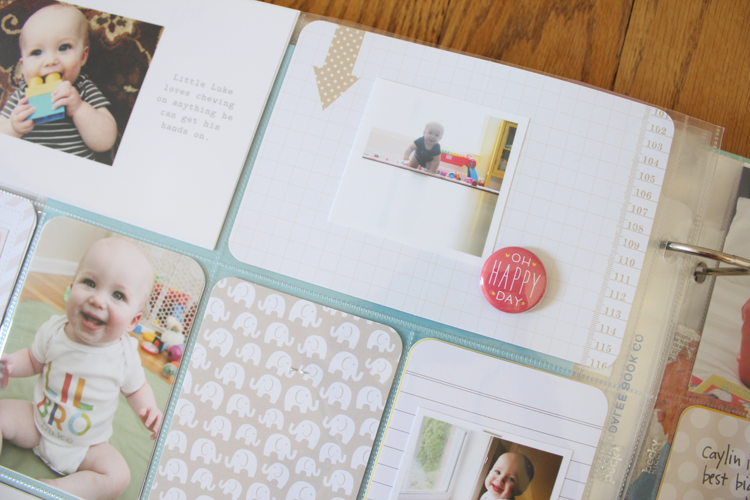
You can see that I used ANOTHER photo template on the bottom right of this page. I actually used one on the bottom right, too! Hahaha! Yep, I’m hooked! :-D I even added some stickers to them! Great way to embellish them a bit and still keep it simple!
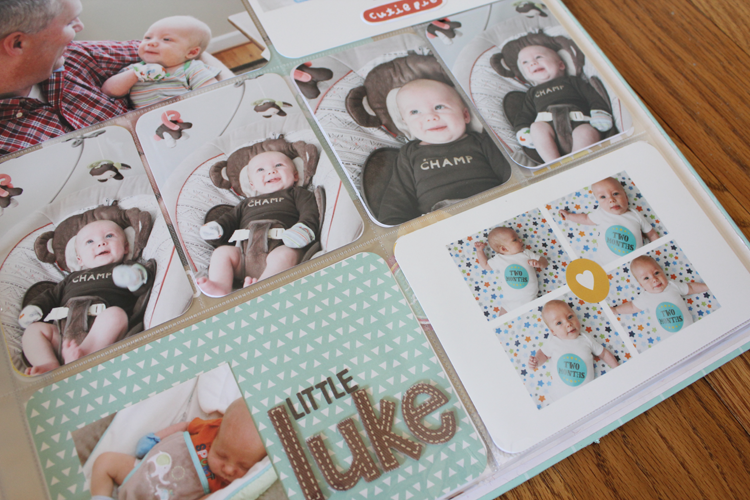
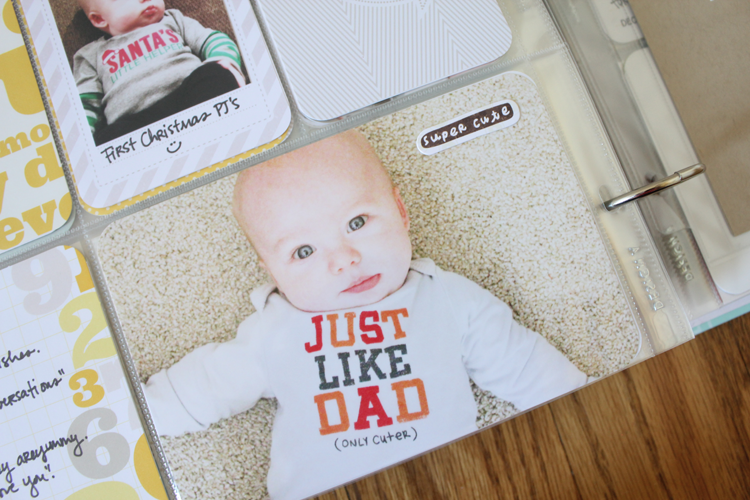
I’m all about simple embellishments and scrapbooking. That’s one of the many reasons why I love Project Life. Throughout his pages you can see that I used my tiny attacher, some flat chipboard pieces and some stickers. I also used flair every now and then, but just kept it simple.
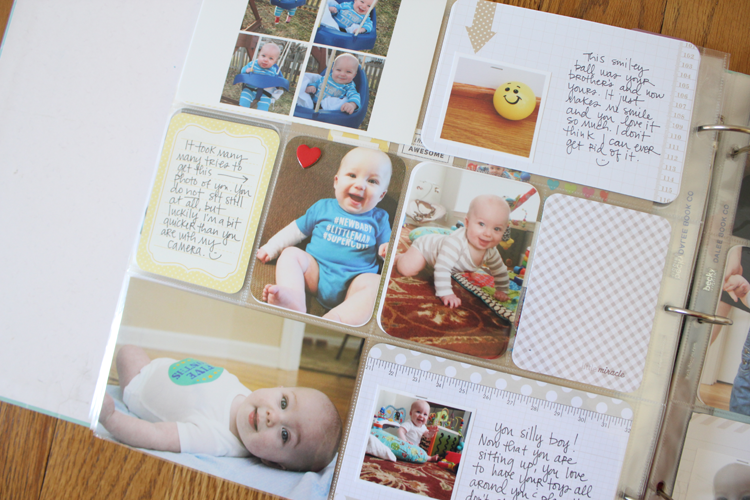
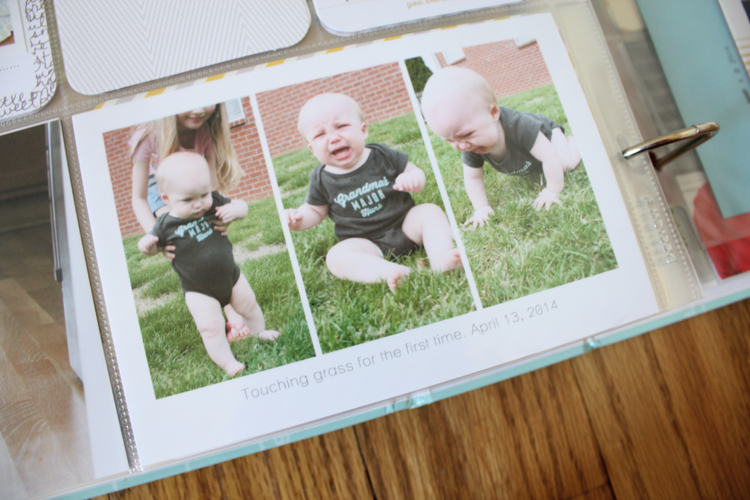
Here’s another photo template that I used. Love this series of photos! Hahaha! All three of my kids hated grass from the get-go? Anyone else? He loves it now, but just cracks me up!
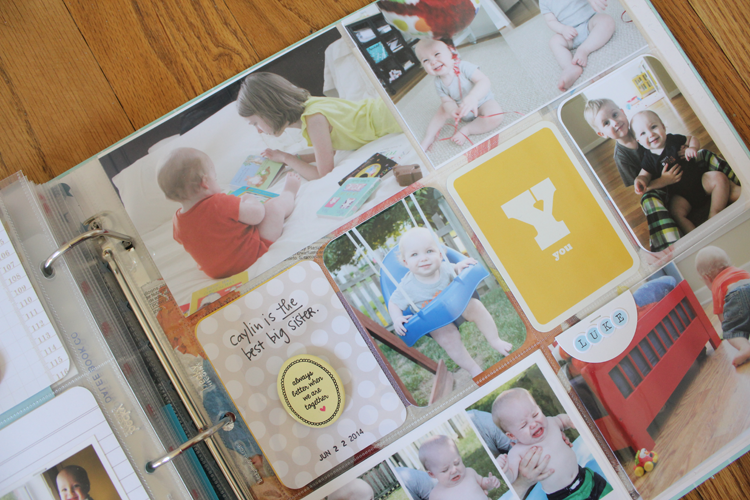
Here’s an example of some flair that I used. This one is from Lawn Fawn. I love them. :)
I finally put that super cute oval flair from Freckled Fawn to use. It was hard to let it go, but fit perfectly here to go with the photo of Luke and Caylin. Love capturing those sibling photos. :)
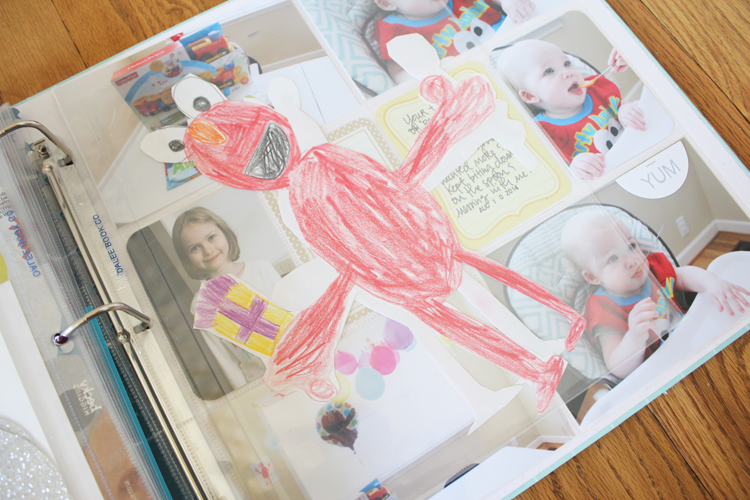
This is his first birthday page. I just included some pictures of him and his cupcake. I also talked a bit about how he did NOT like his cupcake (am I sure he’s related to me? LOL) and how he hated his hands messy (just like my other two kids, too)! I also included a little letter to him on his first birthday on the 4×6 journaling card.
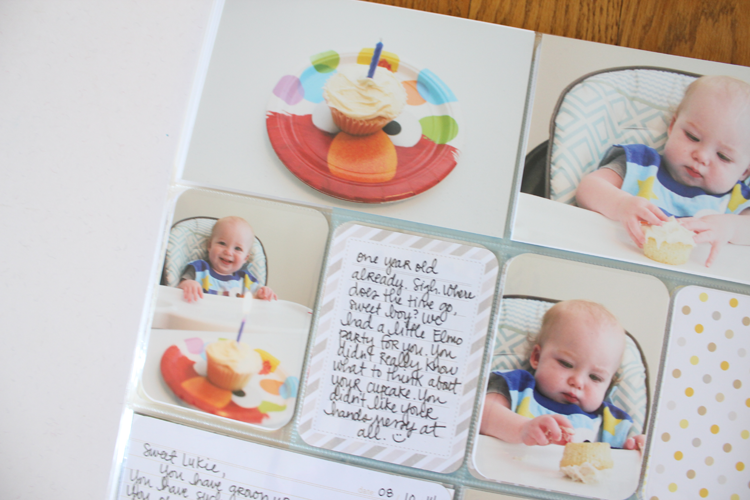
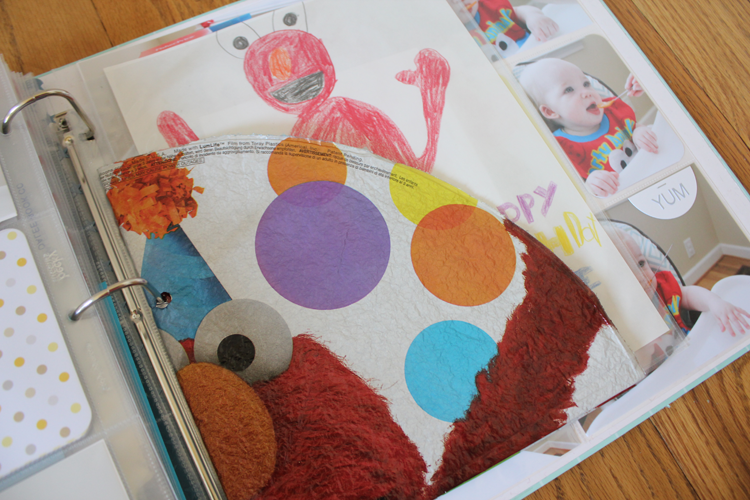
I wanted to include the Elmo helium balloon that he loved too so when it was deflated, I just folded it, punch a couple of holes in it with a hole punch and put it in the album. Simple. :)
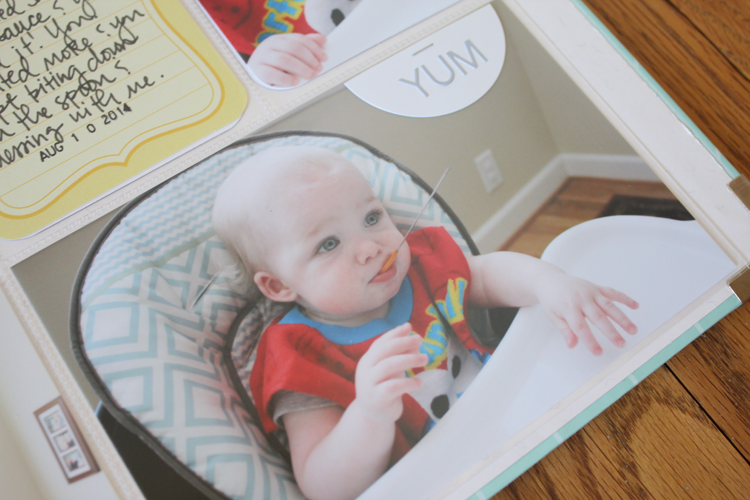
I used a 5×7 Project Life photo sleeve to put in this 5×7 picture of him that I printed at Persnickety Prints. It was his “official” 1-year photo! :-D

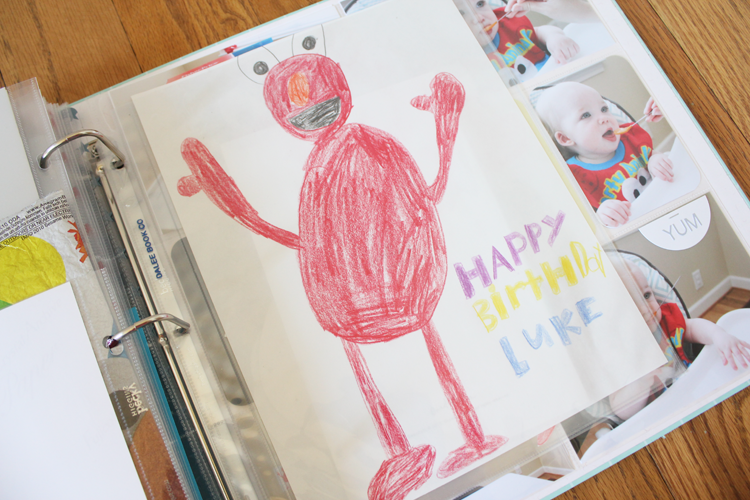
I definitely wanted to include this sweet Elmo drawing. Here’s the story behind it: Caylin told me a few days before Luke’s birthday that SHE wanted to create all of his party decorations. She was so sweet about it that I totally let her and this is one of the drawings that she created and we put on the wall. :) I just slipped it into an 8.5×11 page protector.
In the back of that above page protector I slipped in some of his birthday cards, a napkin from his party and the glitter “one” from his photo. :)

Here are some other Elmo decorations that Caylin made that I kept. I wanted him to see just how sweet his sister was and wanted to hold onto these sweet mementos. :)
Then on the very last page I just included another collage of his 12-month photos and some random pictures of him that I love. :)
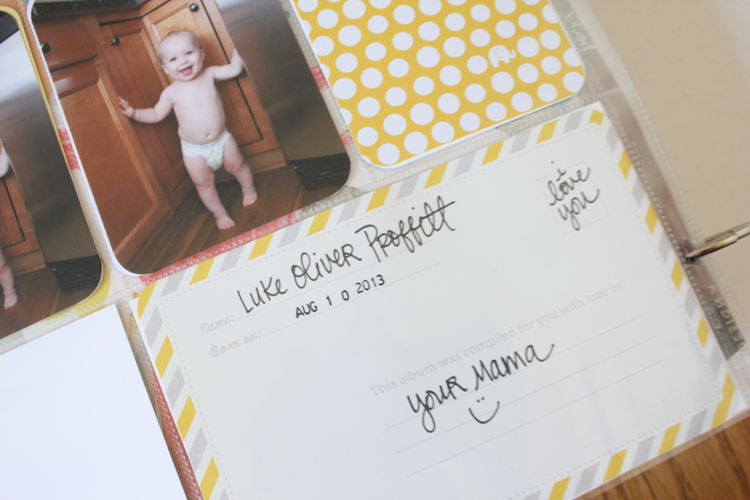
I also included this little card in the kit just like I did for Jack. :)
And there you have it! Luke’s first year Project Life style. SUPER simple to do. Just worked on it here and there. Love how easy it came together and flipping through it seriously takes me back and gives me baby fever! Ha!
If you have any questions at all about my process or the album, leave me a comment and I’ll be happy to answer them! Thanks for stopping by!
Have a great day! XOXO!
- To find about more about Project Life, head on over to Becky Higgins’ blog HERE.
Jenny B.
March 25, 2015 at 9:37 amI love the dividers. What letters did you use for the names? I am working on birthday books (one spread per birthday) for each of my boys using the PL mini albums. They have already said that they want to take them with them when they grow up (so sweet), so I am planning to make a second copy just for me, but I’m going to combine them in a 12×12 album. I love that a spread in the mini albums can easily be rearranged to fit one design A page. :) OH, and I didn’t know about the plastic film on the dividers at first. I was amazed when I read that you’re supposed to peel it off. I didn’t even realize it was there! They looked so much better after I did. HA. :)
Kristina
March 27, 2015 at 11:09 amHi Jenny! I used some super small letter stickers from the most recent Studio Calico Project Life kit! :-D Isn’t that a great tip about those dividers? Took me a bit to figure that out, too! LOL! Happy to share! XOXO!
Roxanne
October 5, 2018 at 3:47 pmI love your baby book/scrap book ideas! I am currently working on my own for my little guy and I was wondering what size book you used and the size photos you used?
Kristina
October 5, 2018 at 7:17 pmHi Roxanne! The size album is 12×12 and the photos I used were sized 3×4 and 4×6. You an find out all about Project Life by going to http://www.beckyhiggins.com. It’s a super fun way to document your memories. SO easy!! Thanks for stopping by and leaving a comment/question!