
It’s Monday and I’m starting the week with some more Project Life page shares! I’ve got a couple of sets of page spreads to share with you today! How’s that for starting the week out right? ;) Get ready because this post is a bit lengthy for a change!
I’ve been really trying to be more intentional about using up the supplies that I have on-hand so I am doing a bit more embellishing than I normally do. At least it feels like it. Ha! For this first spread I used DESIGN A page protectors (those are my go-to page protectors).

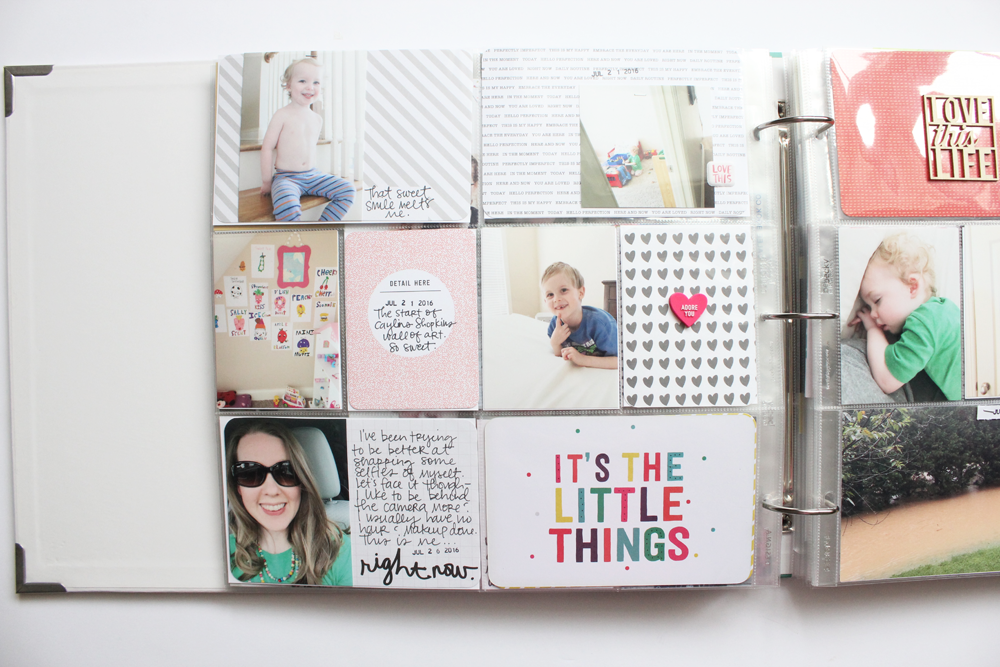
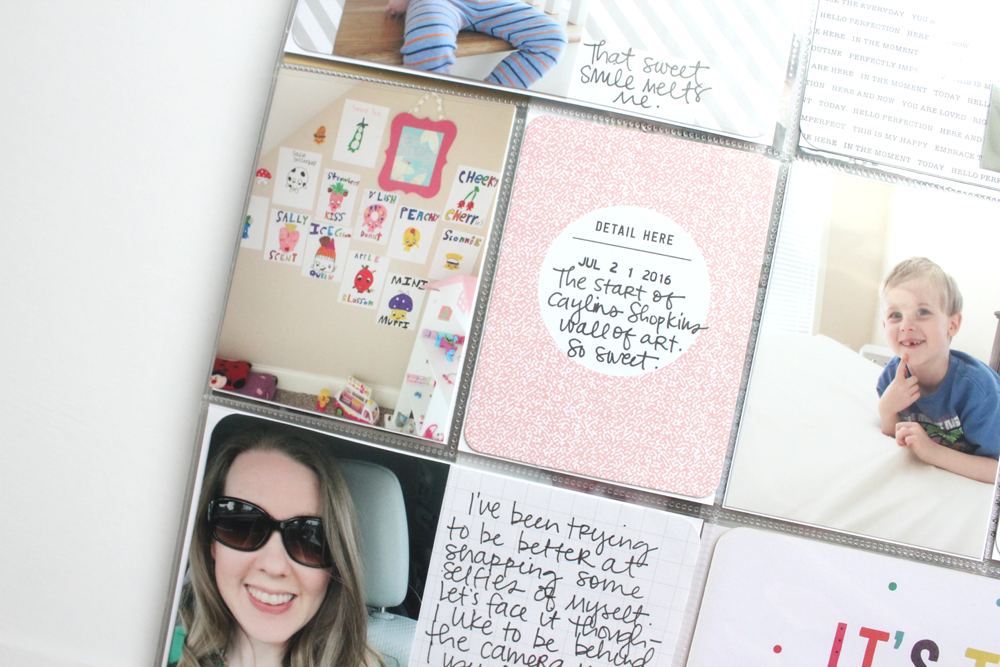
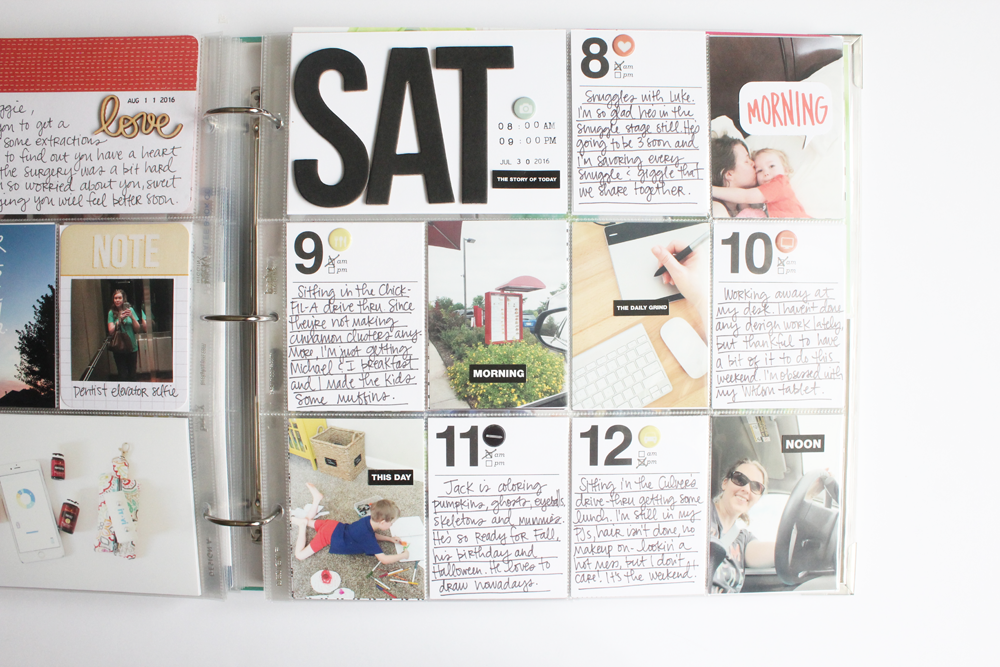
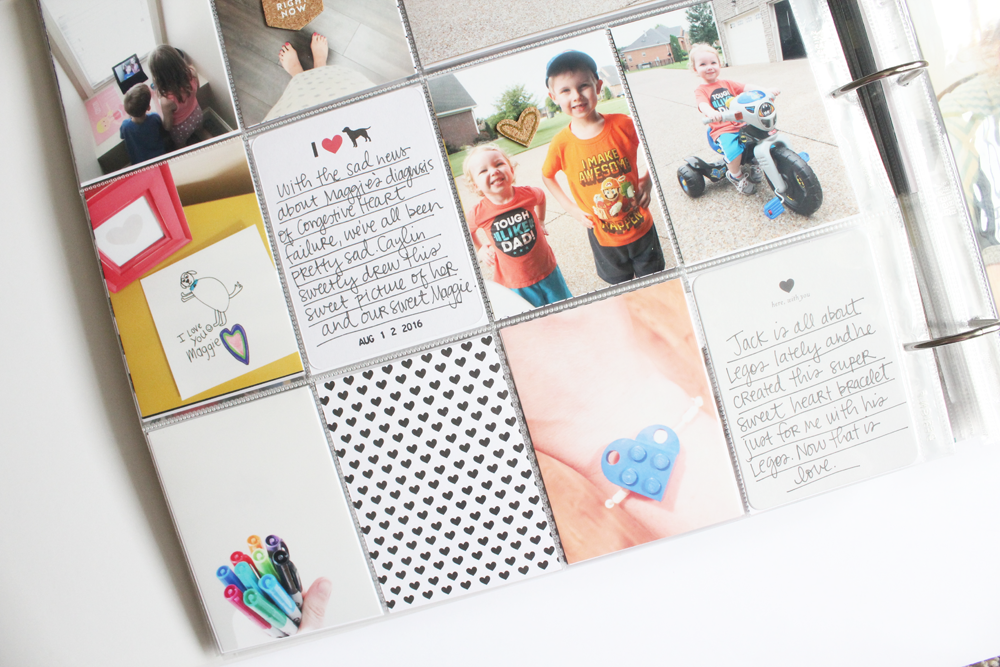
Does anyone else find that they take way too many photos that can work in the 3×4 slots, but not nearly enough photos that can fit in those darn 4×6 slots? Maybe it’s just me? Well, yep – I do find that I’m always trying to figure out some sort of filler card, journaling card or some other size photo to get into that slot. On this page, the top two photos aren’t sized 4×6, but I did place them on 4×6 cards, which helped me get passed that problem I was having! Ha! I decided for the first card to just adhere the 3×4 photo of my son Luke to one side of the filler card and then write a smidge of journaling next to it.
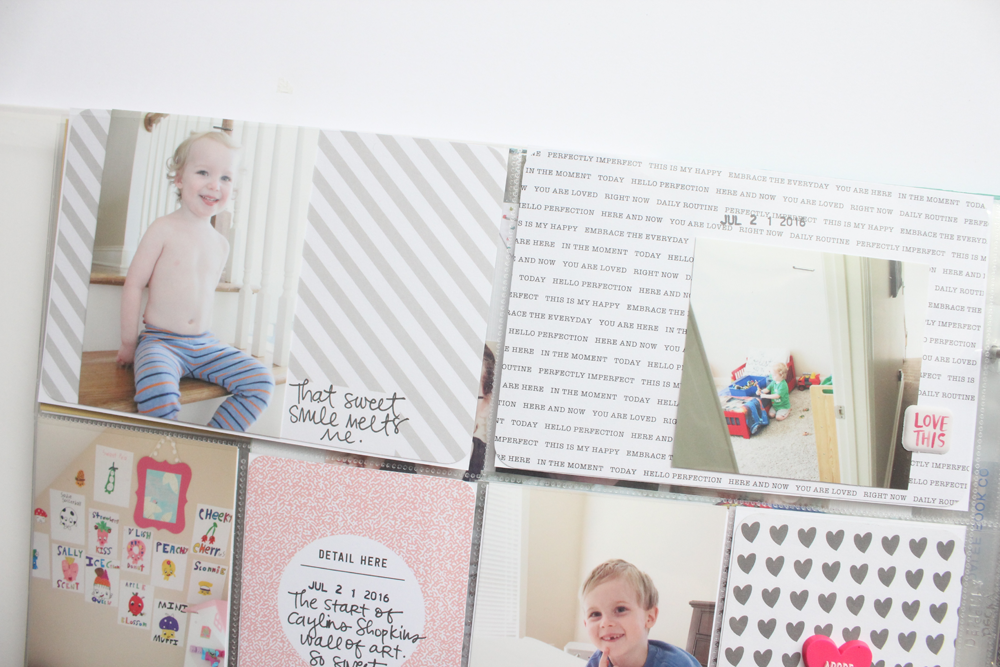
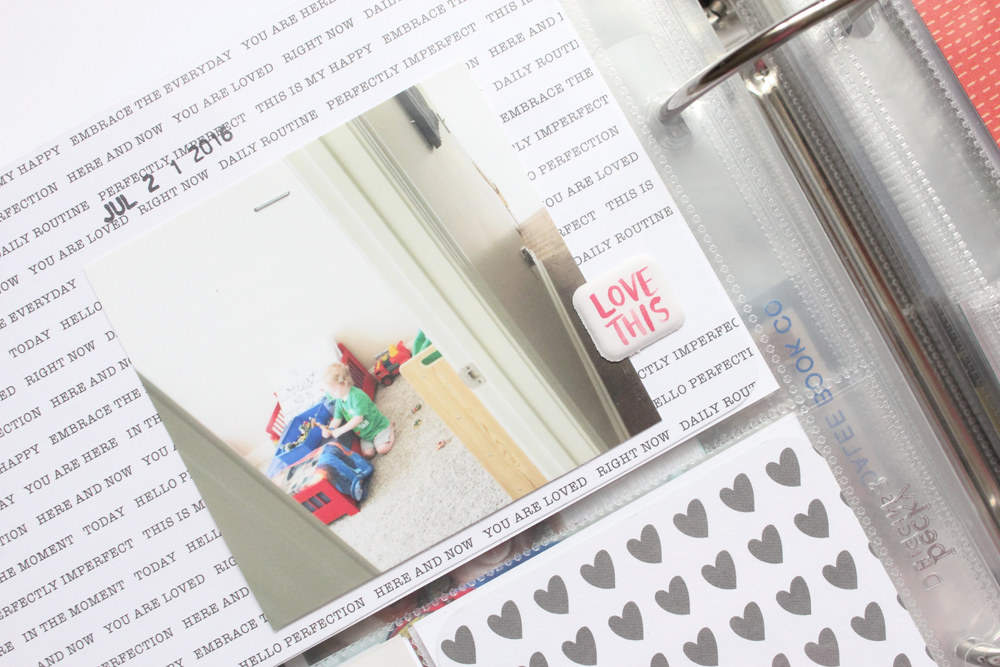
For this other photo, I took another 4×6 card and printed out a photo that I think was 3×3. I stapled it onto the journaling card, stamped the date on it and then added a sticker to it. Kept it simple, filled that slot and I’m happy with it. Sometimes ya just gotta mix it up!
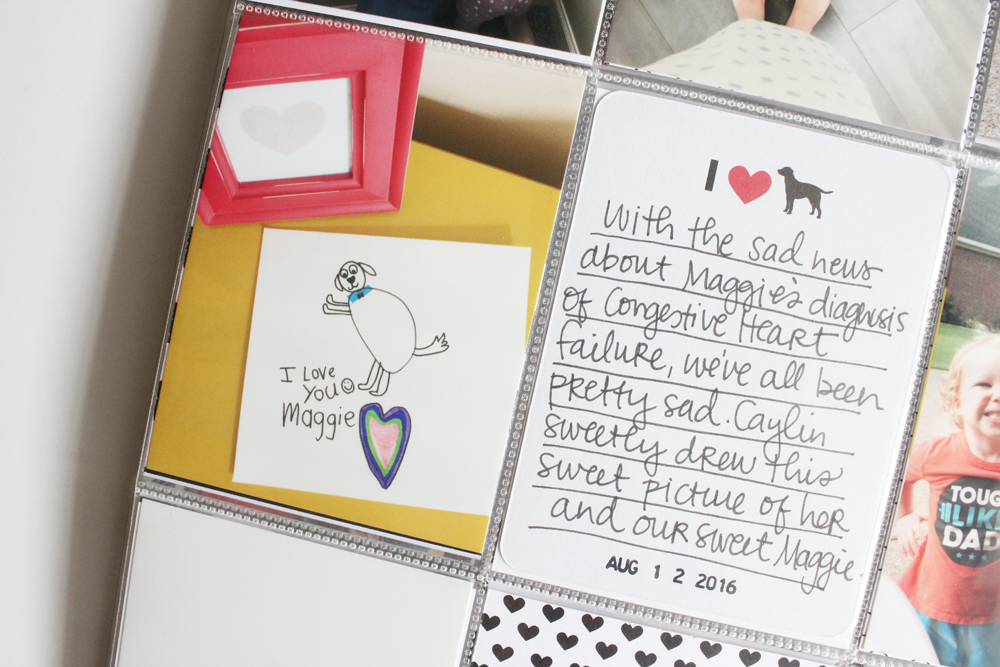
The 3×4 “detail here” card is from an older Project Life Studio Calico kit and so is the heart card, I think. I adhered a new to be embellishment that I got a couple of weeks ago after seeing Ali Edwards’ new scrapbook goodie purchase! I just had to have them! Ha! So much for using up those older embellishments I have! ;) I blame Ali! Ha! I just love that little conversation heart looking rubber embellishment and so I added it to the 3×4 heart journaling card to give it a pop of color and because I just adore Jack and that sweet photo of him.
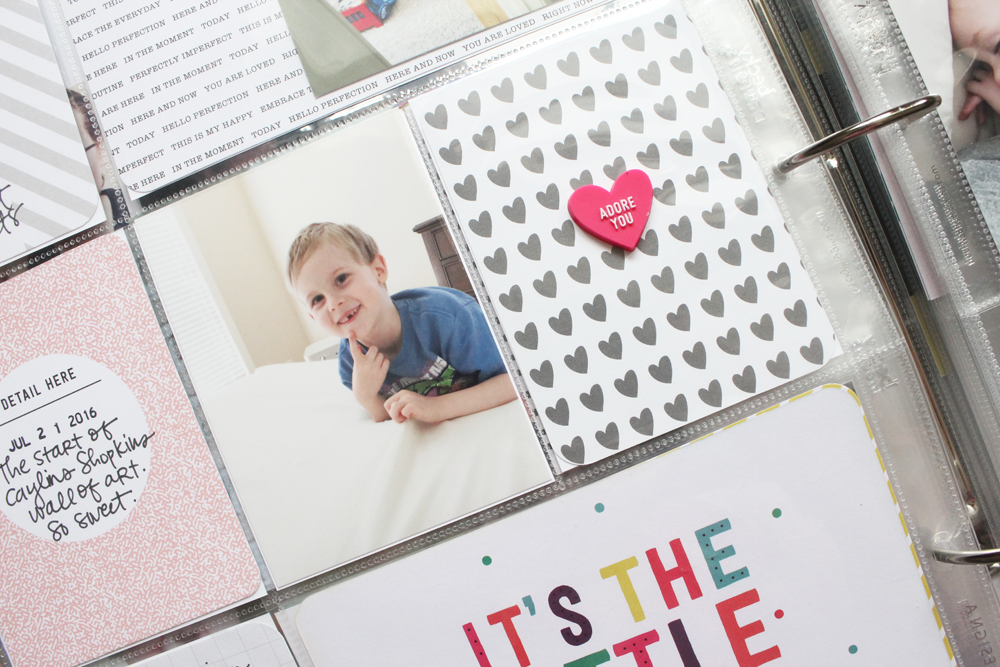
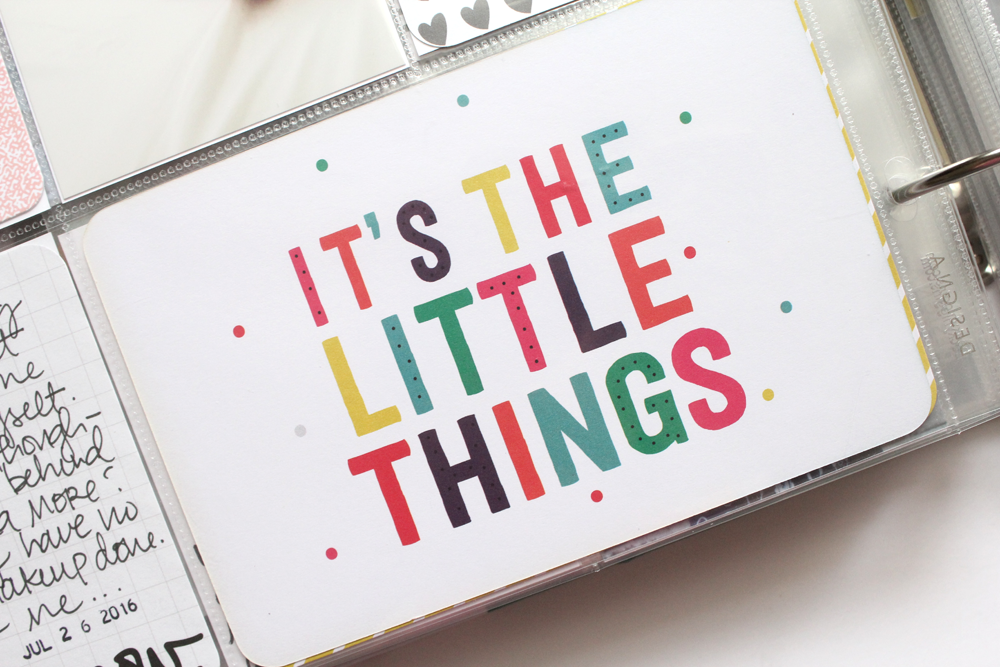
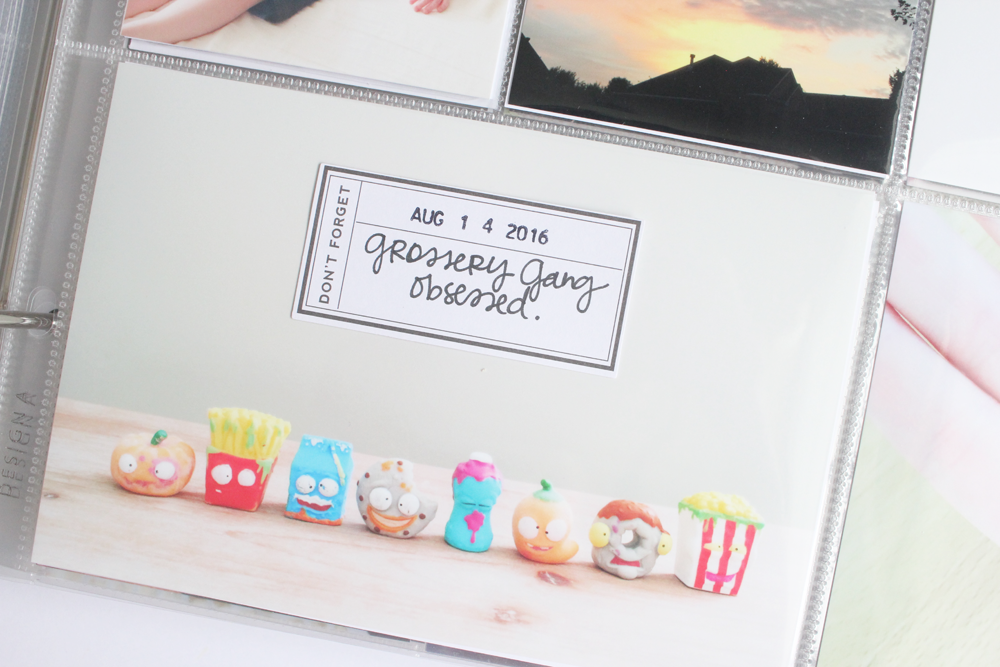
Lastly, this 4×6 filler card, “It’s the Little Things” is from the Confetti Edition, which I designed! Yay! So happy when I can slip those in there. It’s STILL so surreal!
 Ok, moving onto the next page…
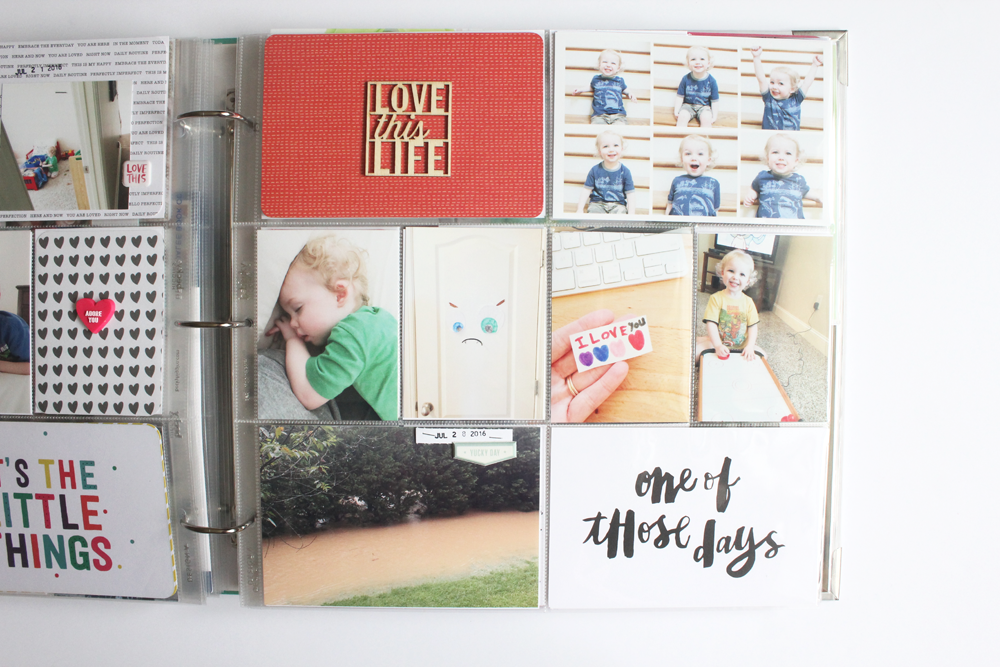
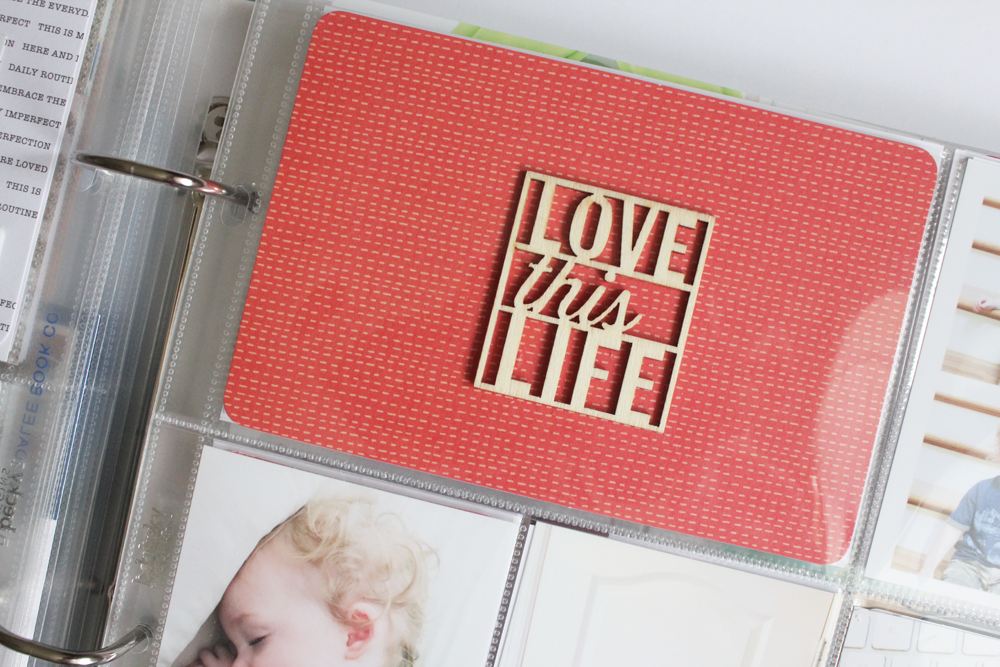
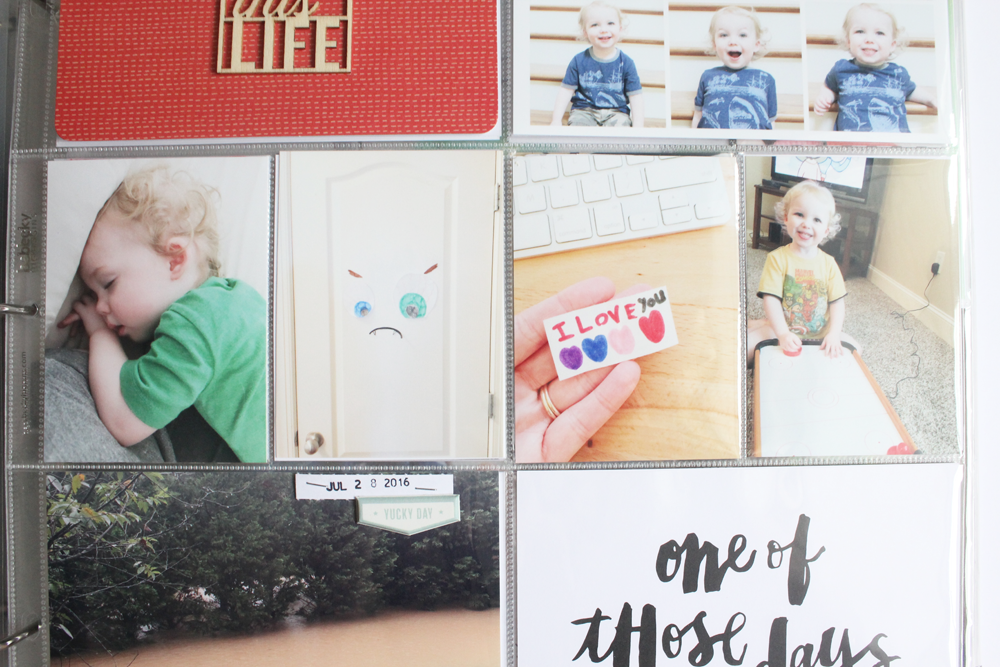
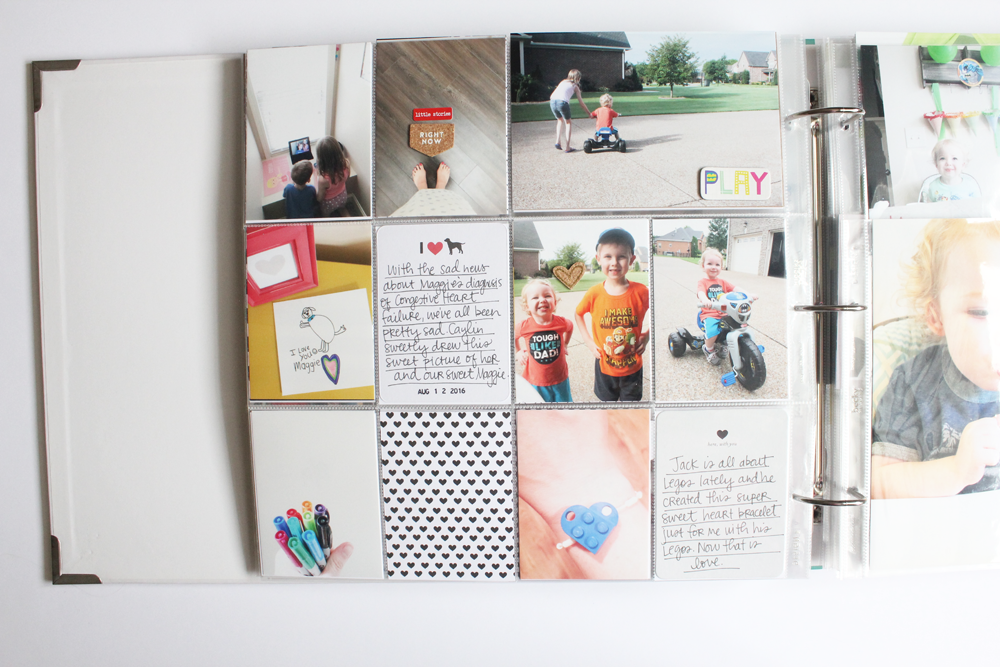
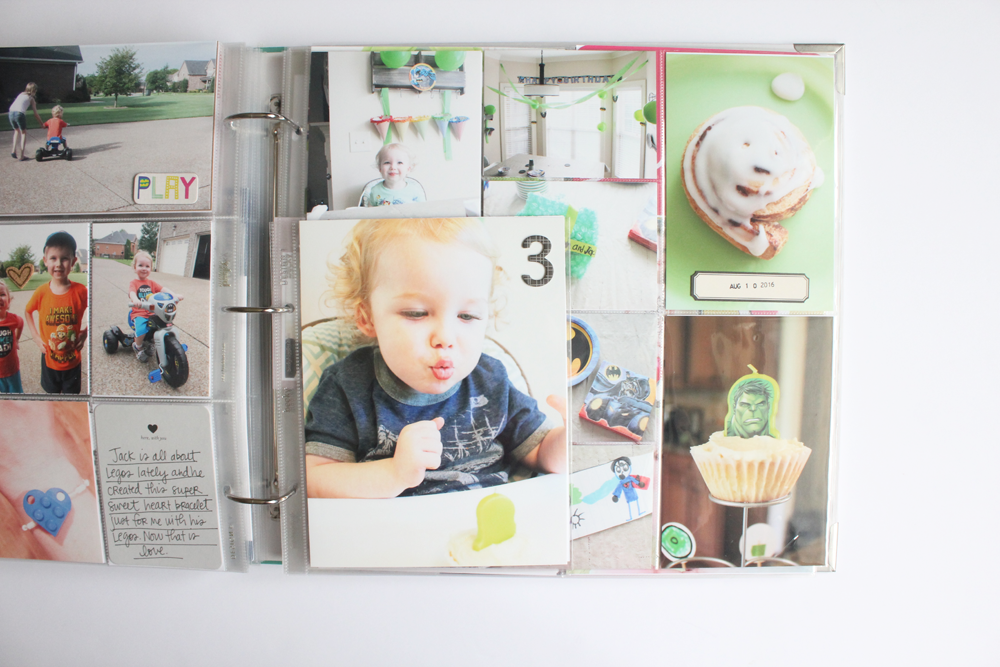
For this page, I simply stuck a 4×6 filler card from Studio Calico in a slot and then adhered a wooden embellishment piece to it (outside of the page protector in case you were wondering. That’s how I roll). ;)
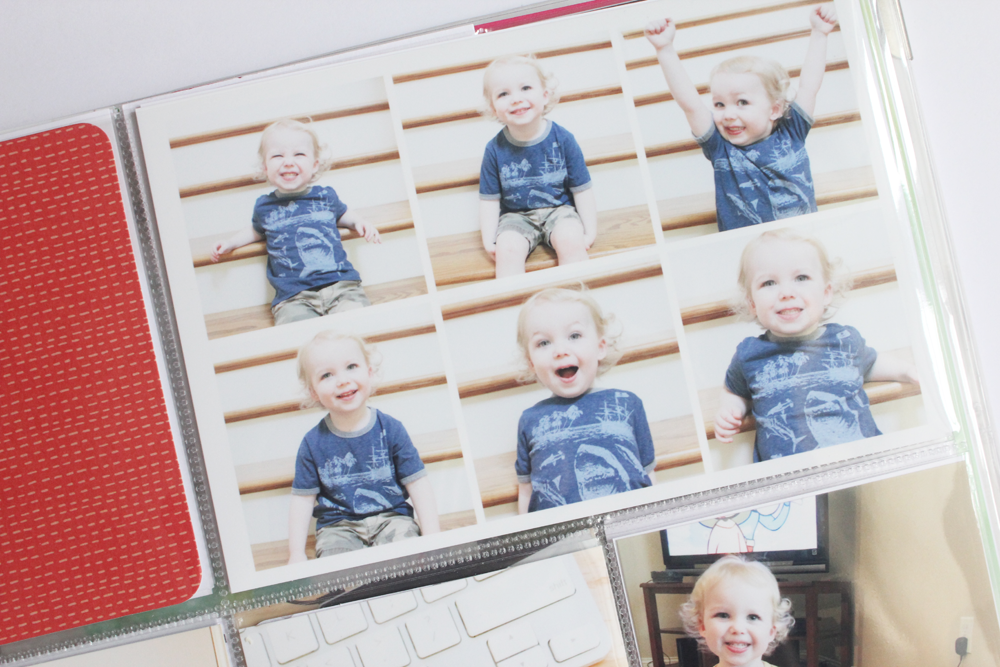
The collage of photos of Luke was created using one of my friend, Tracy’s, digital photo templates. You can find her shop HERE. I just loved all of these different faces of Luke and had to include them all and so this collage was the perfect way to document it!
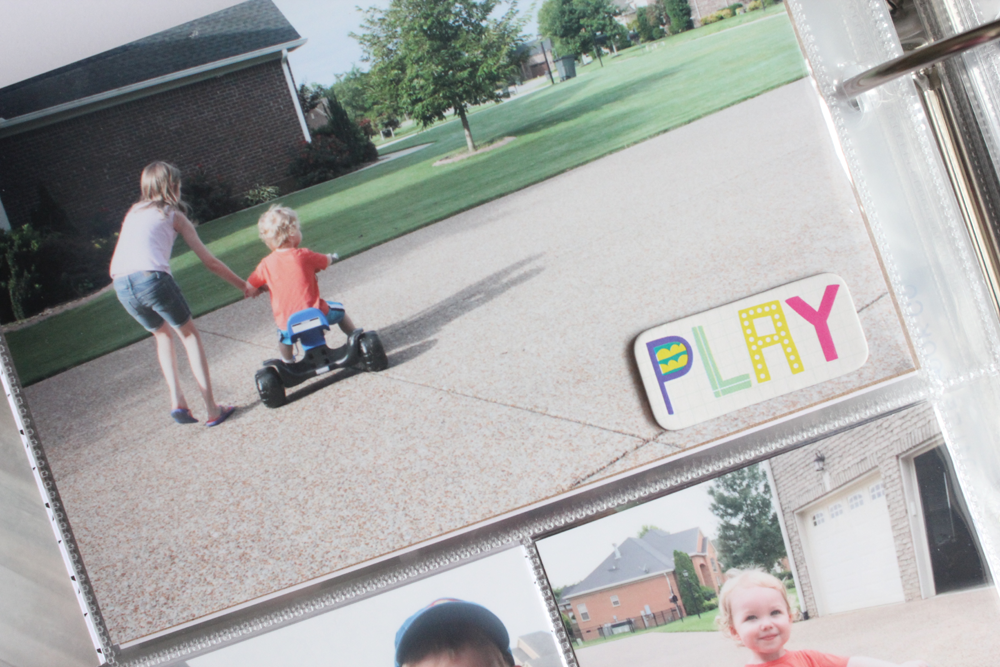
Then across the middle I’ve just got 4 3×4 photos.
Moving on to more! ;)
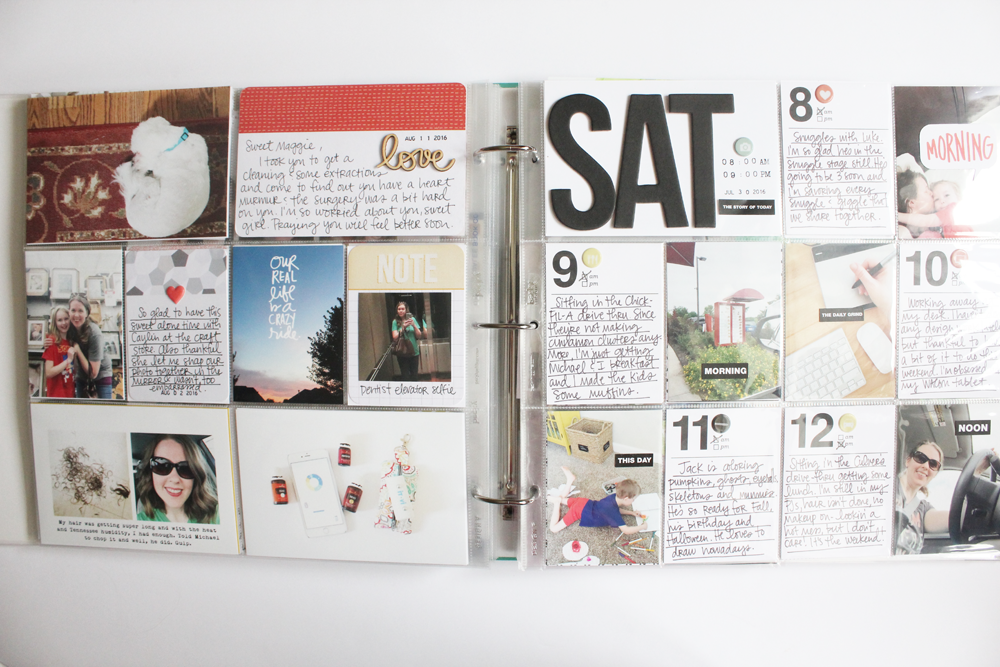
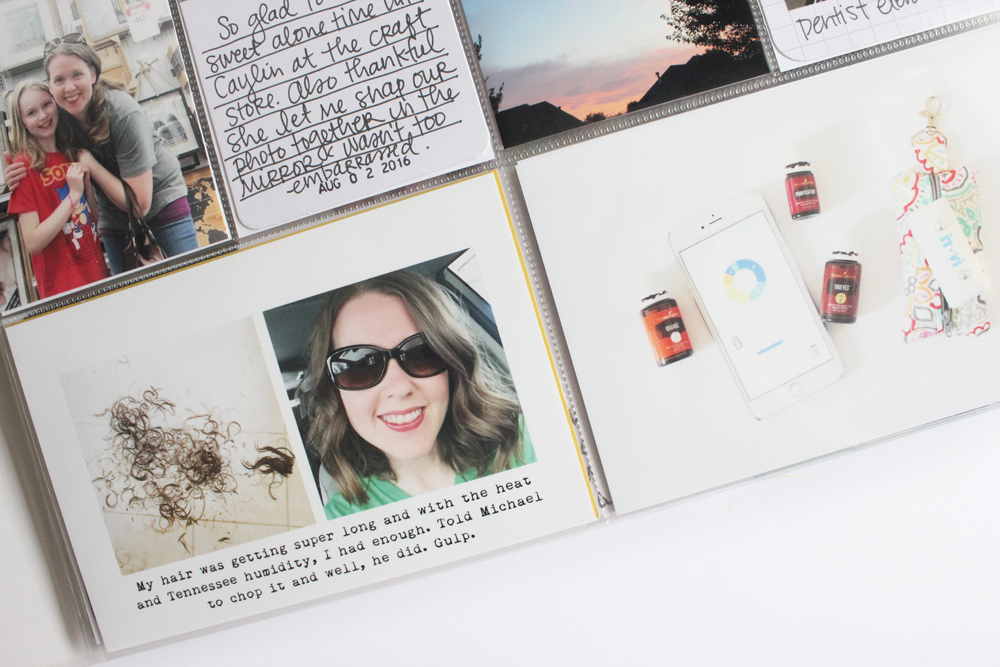
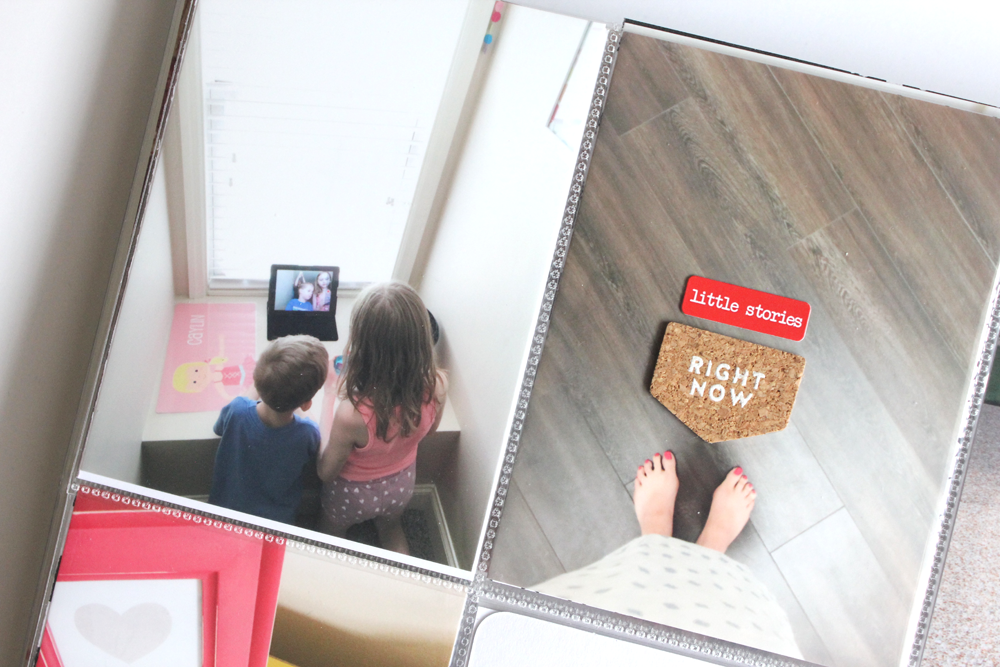
So for this spread, on the left side I’ve got another DESIGN A page protector documenting some things.
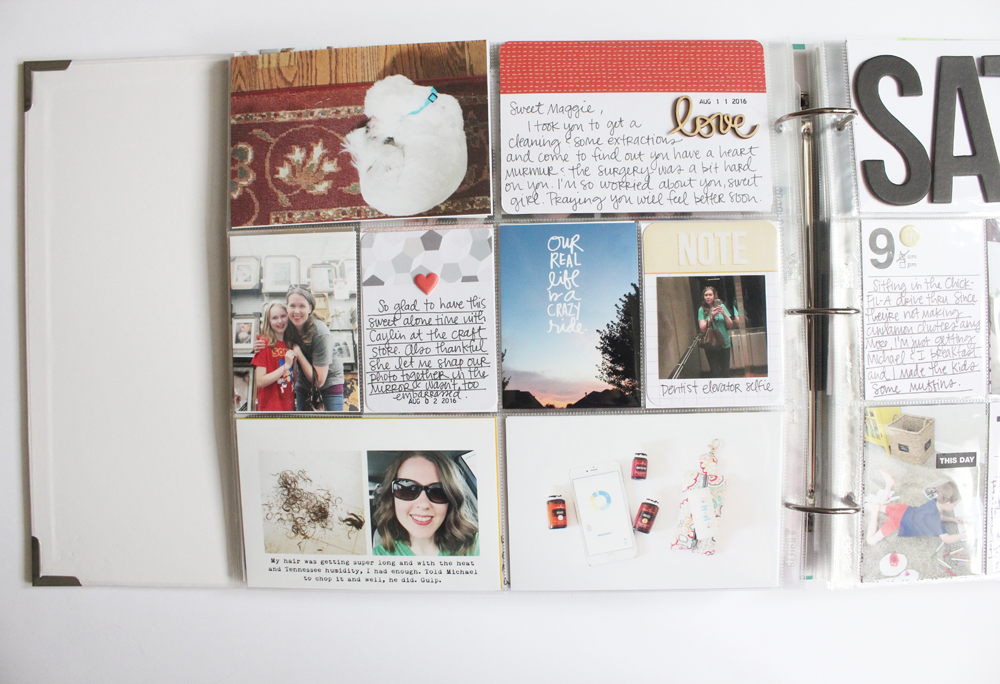
I used a lot of older Studio Calico Project Life kit cards on this page as well as another template from my friend, Tracy.

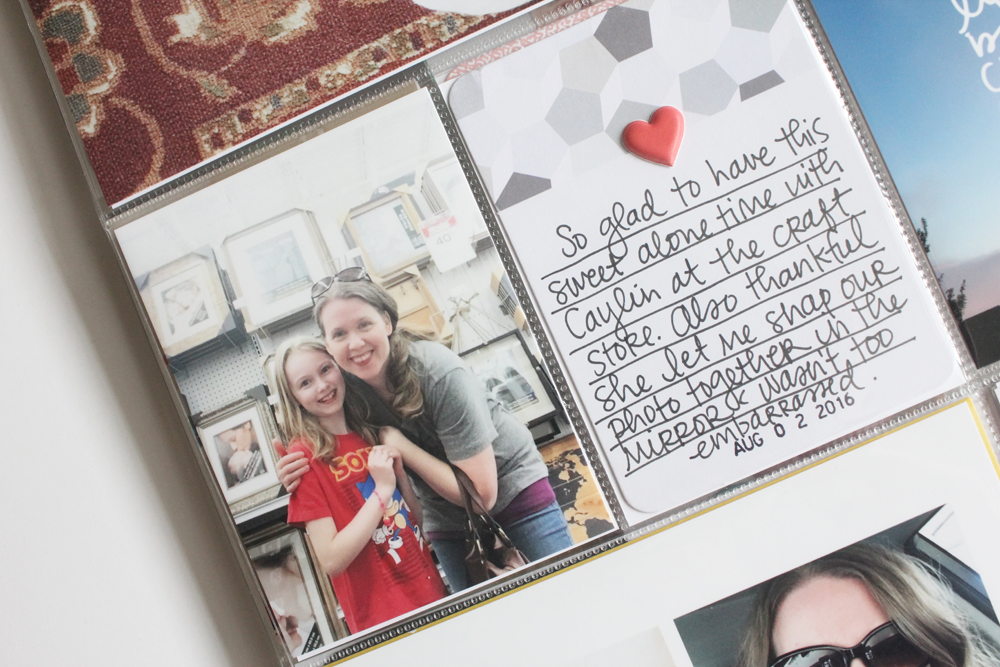
The embellishments on this page are simple and all are from Freckled Fawn.
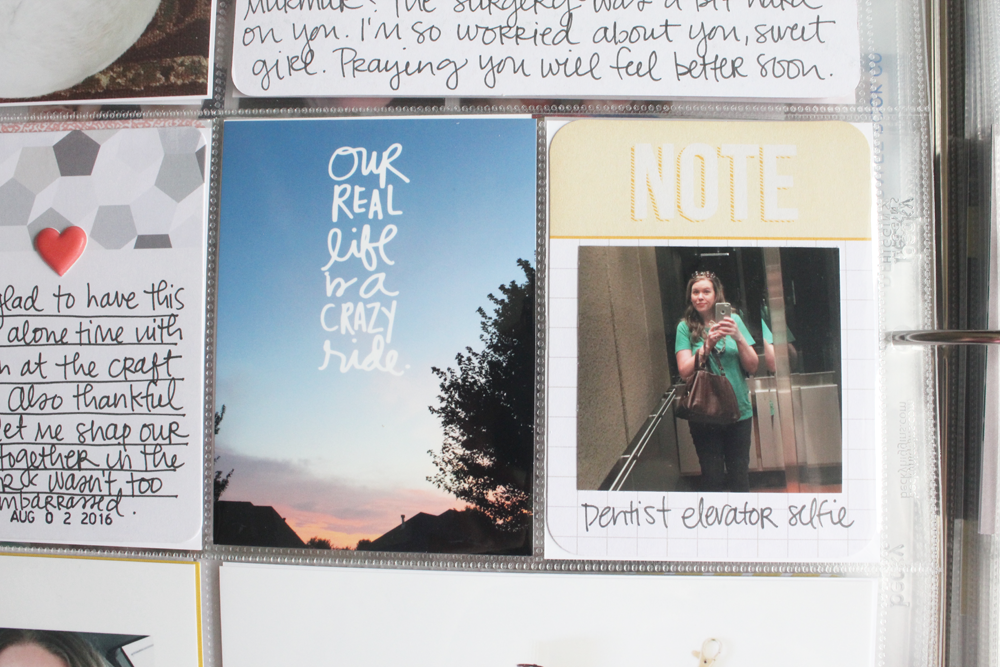
You gotta love a dorky elevator selfie, am I right? Ha! I also love to use Ali’s digital brushes on photos, too! Doing that more as well!
On the right side you’ve got the first page of my Day in the Life documention in a DESIGN F page protector. The next 2 pages after this page are the continuation of that as well. You can see them all in more detail HERE on my blog.
The next page after the DITL pages is this page:
It’s the back of a DESIGN F page protector from the last page of my DITL.
Then after that I’ve stuck in the documentation of sweet Luke’s birthday. You can see all of those pages HERE on my blog if you missed them the first time I posted.
There’s also this little school card and 6×8 insert that I made using some sweet Elle’s Studio goodies that you can see HERE.


Then finally there is one more DESIGN A page protector to finish out this spread.
This has to be one of my favorite spreads in awhile. It just came together so quickly and easily. Don’t you love when that happens?
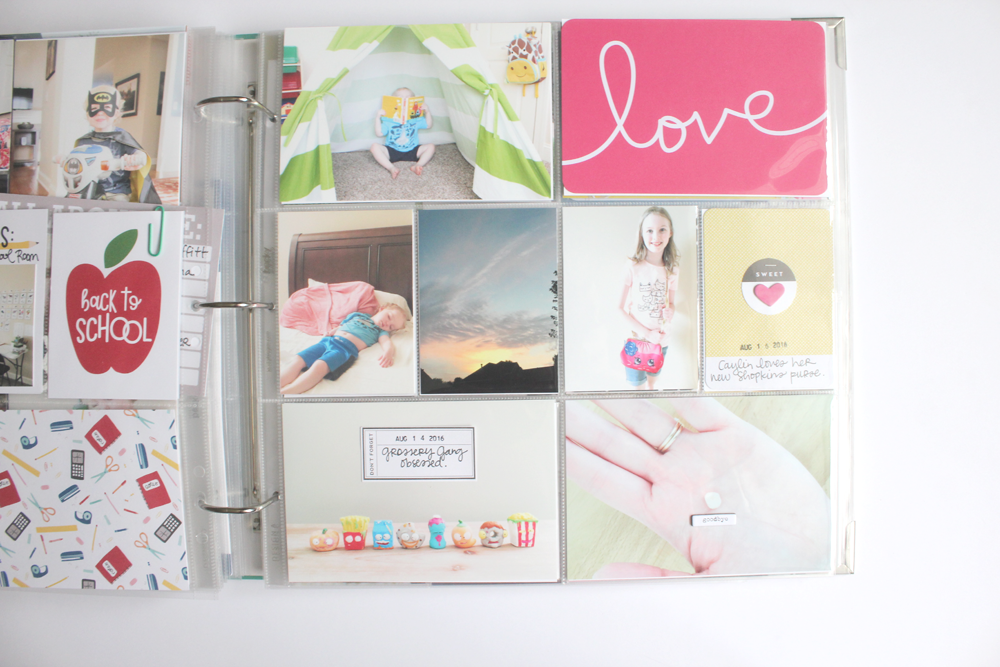
I simply used the “love” 4×6 filler card once again from the Confetti Edition that I designed and then a 4×6 photo across the top.
In the middle are three 3×4 photos and then a 3×4 card that is from Studio Calico. I added a “SWEET” circle diecut and then put a little heart chipboard sticker in the middle and stapled it. Added the date and just a smidge of journaling and there ya go.

For this 4×6 photo, I simply put one of the We R Memory Keepers stickers on it, dated it and wrote a little somethin’ somethin’ on it. I REALLY wish I would have bought more of these label stickers. I LOVE them and just got a pack. What was I thinking?
Then finally for the last 4×6 photo of the tooth that took FOREVER and a DAY for my daughter to get out of her mouth, I simple put a “goodbye” chipboard piece from Freckled Fawn under it. Enough said. Ha!

And there you go. Y’all, this blog post took me a LONG time to get finished with all of these photos and text! Ha! I hope that you loved it, it inspired you to get to documenting your memories or just made you want to sit down and scrapbook right now! I’ll be sharing more soon! ;)
XO!
To find out more about Project Life, check out Becky Higgins’ website HERE.
Sharon Wiertelak
February 6, 2017 at 6:52 pmWhy didn’t I know you designed the Confetti kit?? OMG it’s my favorite!!! Love the colors! I’ve almost used it all up! It’s awesome! It makes me a happy momma!
Anjali
February 7, 2017 at 4:46 pmThese pages look so great! Love them!
I really want to get into more of these sorts of creative endeavours! :)