

Happy Tuesday, friends!
I’m back at it after recovering from a weeks’ worth documenting our lives for Week in the Life. I’ve got some of the album done and can’t wait to share the whole thing with you all soon! Hoping I can finish it up this weekend!
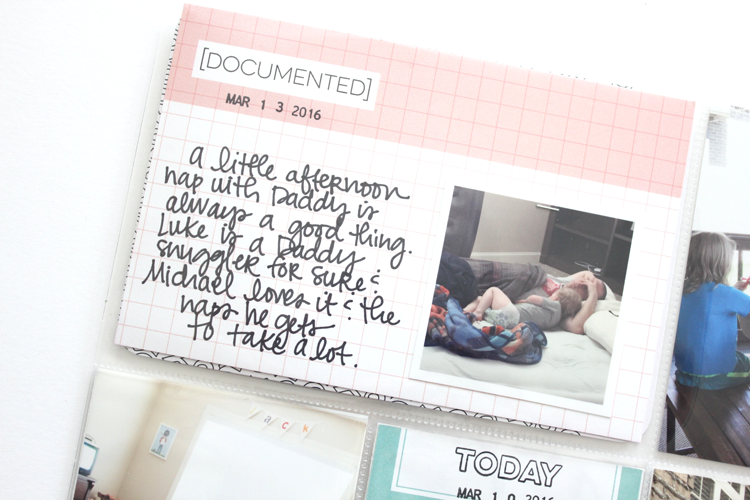
Today I’m going to share a page spread from my Project Life album with y’all and I’m using the super cute mid-month release from Elle’s Studio called, “DOCUMENTED”. It’s perfect for using in your pocket pages and the stamp set – um, LOVE!
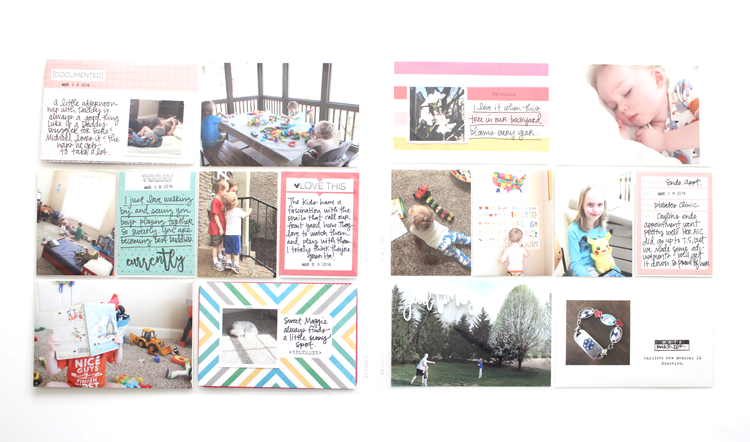
Here’s a shot of both pages:
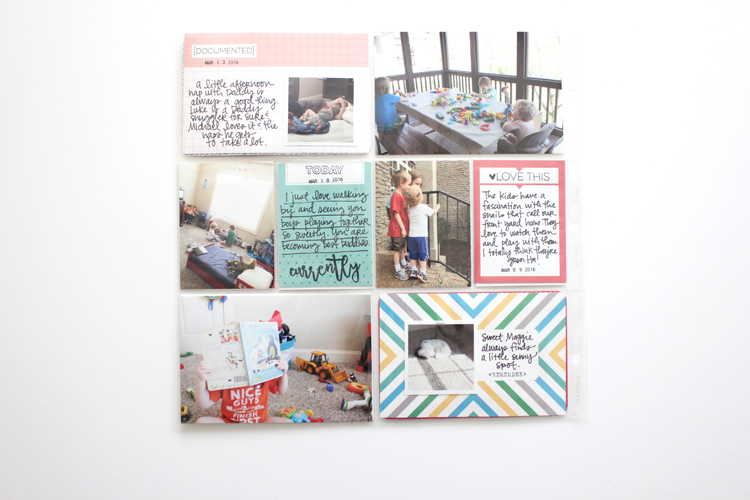
I love the double-sided journaling tags in the DOCUMENTED mini-collection. I’m a big fan of the graph grid on this card and love how there are lots of simple, great designs to choose from. You get 6 4×6 cards in the lot.
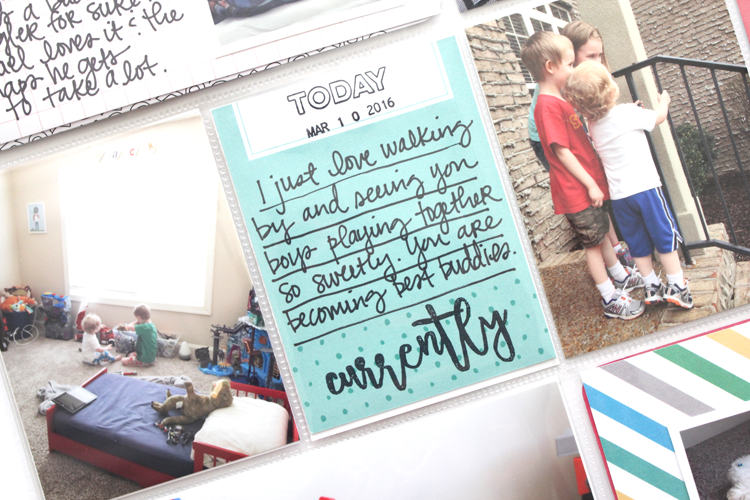
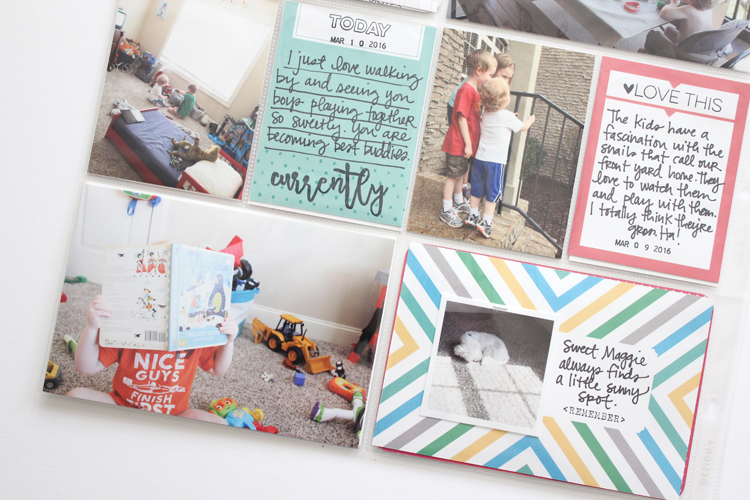
This card is also in that lot! I used the “TODAY” stamp from the DOCUMENTED stamp set and stamped on the top and then used my date stamp to stamp the date. I wrote the journaling and then used the “Currently” stamp to stamp on the bottom of the card.
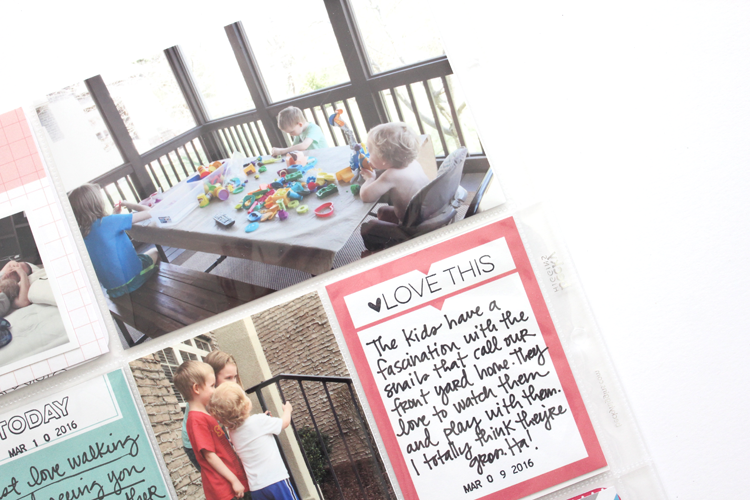
Another journaling tag and the “LOVE THIS” is also in the stamp set. Too cute, eh? I’m telling you – the stamp set is just SO perfect for pocket pages. I know it’s going to be one that I use over and over again.
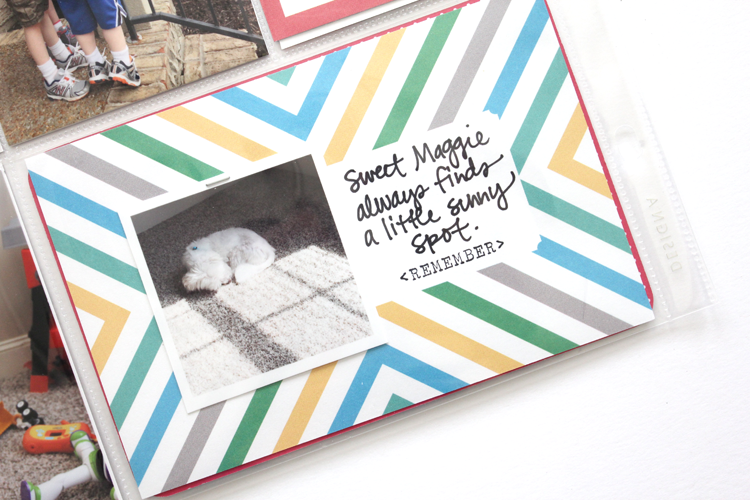
I love adding little 2 inch photos on 4×6 cards and that’s what I did here. I stamped “remember” from the stamp set and added just a little sweet note about my dog, Maggie. She’s getting older (she’s 13 now) and I can tell she’s slowing down. I’m trying to be more intentional when it comes to photographing her. Bless her.
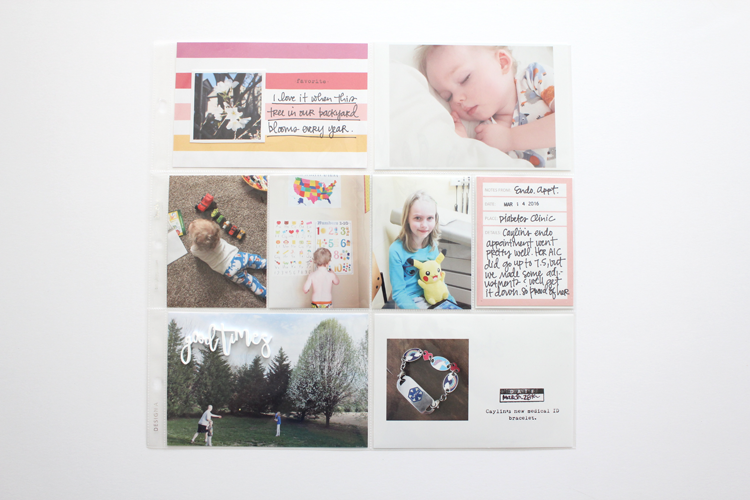
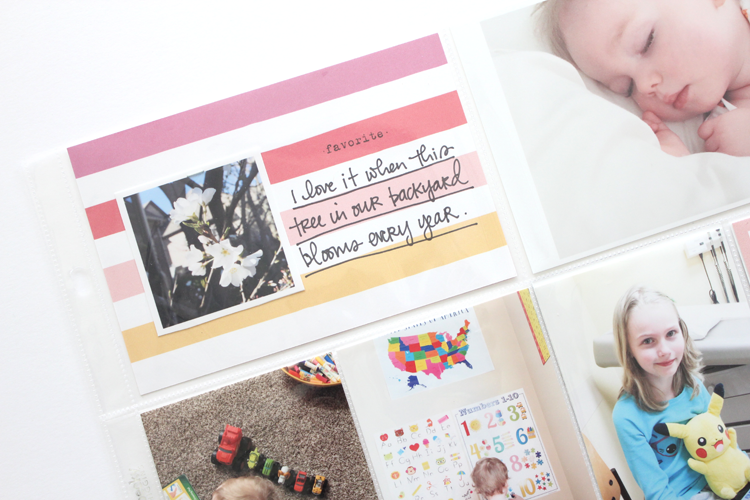
This is another 4×6 card from the journaling card set. Hello super cute stripes! I just added the “favorite” by stamping from the stamp set and then wrote a smidge of journaling on it.
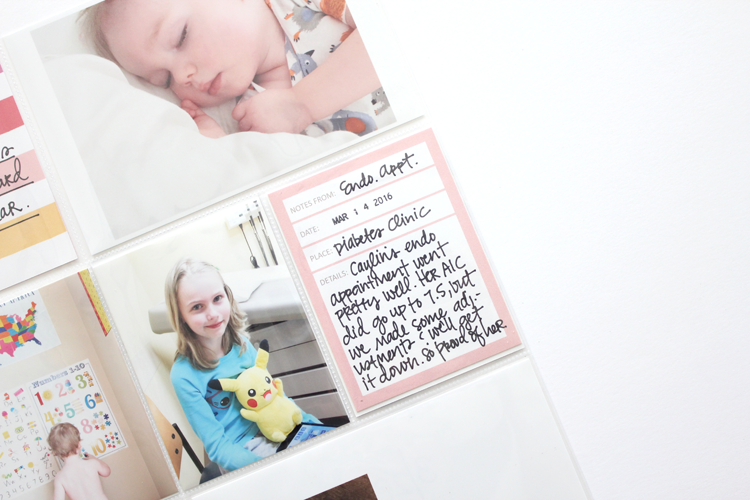
I am a big fan of 3×4 journaling cards with blocks for the date, location, journaling, etc. so this is a favorite card of mine in the set!
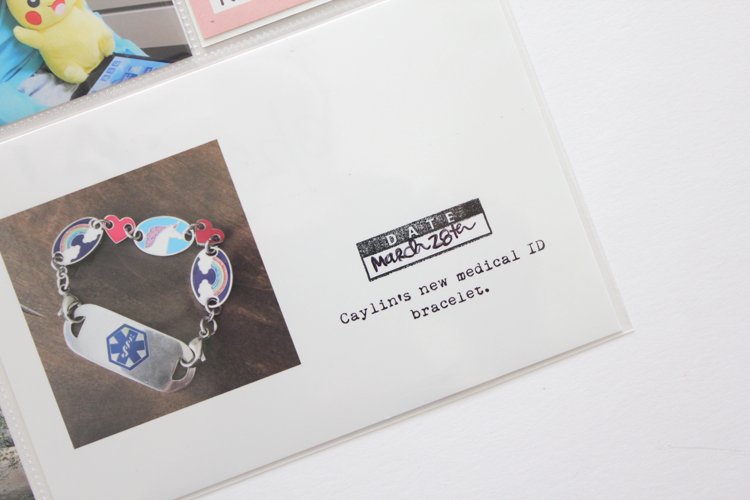
I stamped this “date” label directly onto the photo with Staz-On ink. Then I wrote the date it (the pen was giving me a problem a bit, ha!) and the text was typed on the photo. I used a digital template from my friend, Tracy. She has A LOT of super amazing digital templates! Check her website out!

And lastly, I used this super beautiful “good times” white acrylic piece on this photo. I added it to the outside of the page protector (I’m totally ok doing that – I know not everyone is, LOL) and loved it! Such a simple, yet beautiful embellishment for the page!
There you have it, friends. Another PL spread done! Super simple, but done!
I hope you are having a fabulous week so far! XO!