
Hey hey!! It’s Tuesday, friends! Today I’m sharing a spread and have used the April Freckled Fawn embellishment kit to simply embellish the pages. You know I’m all about keeping it simple and I love using monthly kits for just that – keeping it simple. I’m not a HUGE embellishment user, but I do use them and love to have a good bunch of coordinated embellishments on hand to use and these kits are PERFECT for that and every kit is full of super cute goodness. EVERY TIME, folks.
Ok, let’s just get to it, shall we?
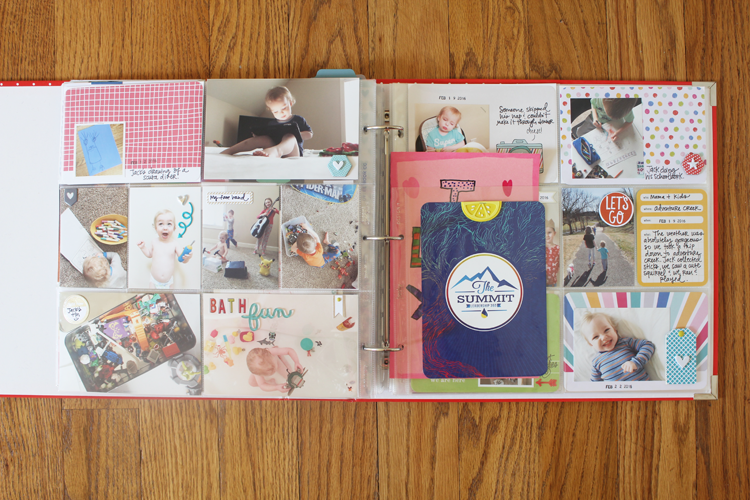
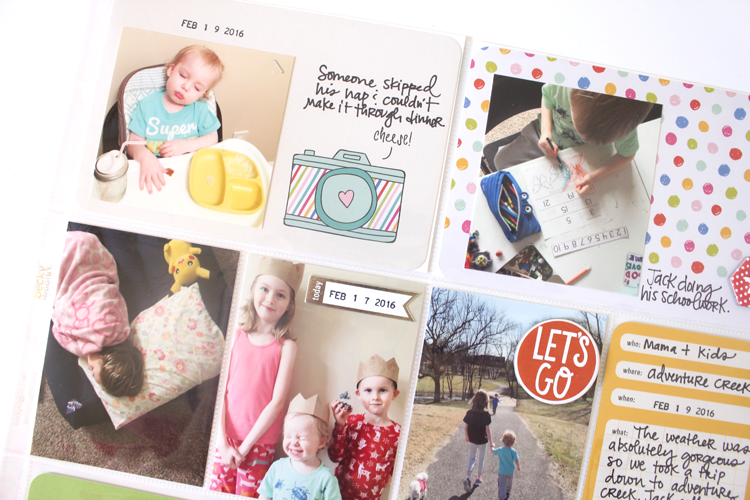
Here’s a shot of the left side. I am using DESIGN A page protectors and cards from the High Five edition. :)
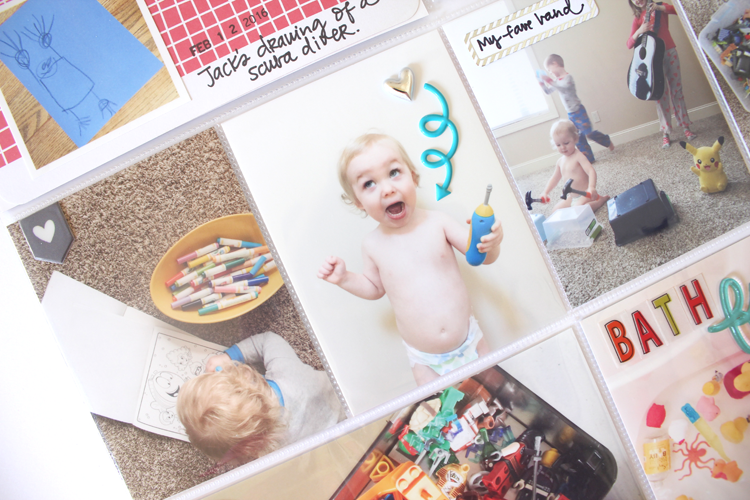
The puffy arrow stickers were perfect to add to this silly photo of my son! The banner heart striker and silver puffy sticker are from previous Freckled Fawn kits.
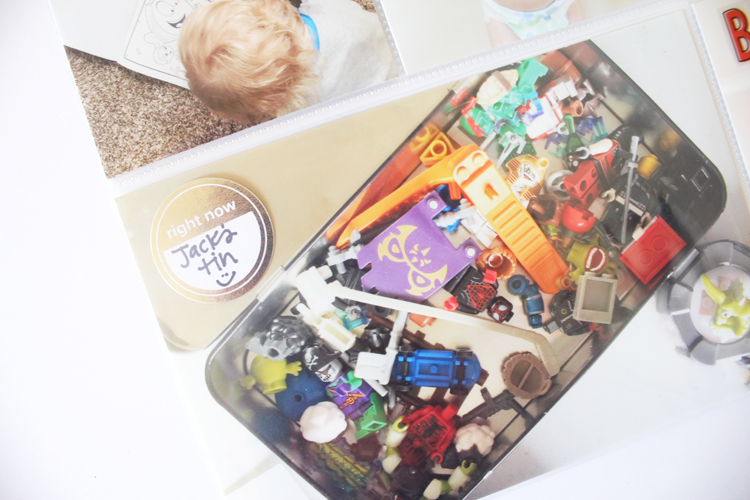
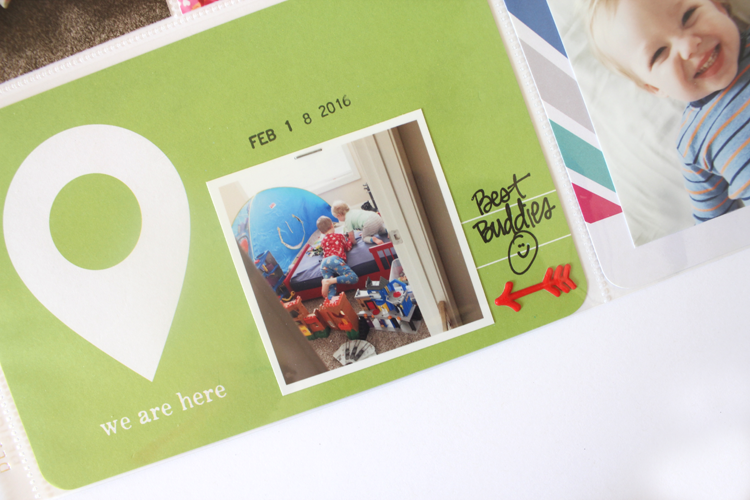
I love the silver foil label stickers. I used them quite a bit throughout this spread to add the date and a smidge of journaling to my photographs. PERFECT.
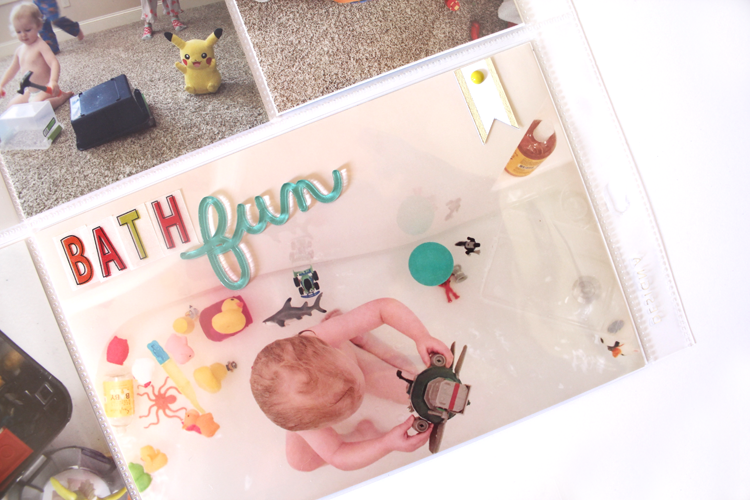
With the bit of white space on this photo I was able to use the vellum alpha in the kit to spell “bath” and then used the acrylic “fun” piece as well! I also cut one of the silver label sticks to make a little banner and then added an enamel tot to the top of it. I love how it looked like a brad.
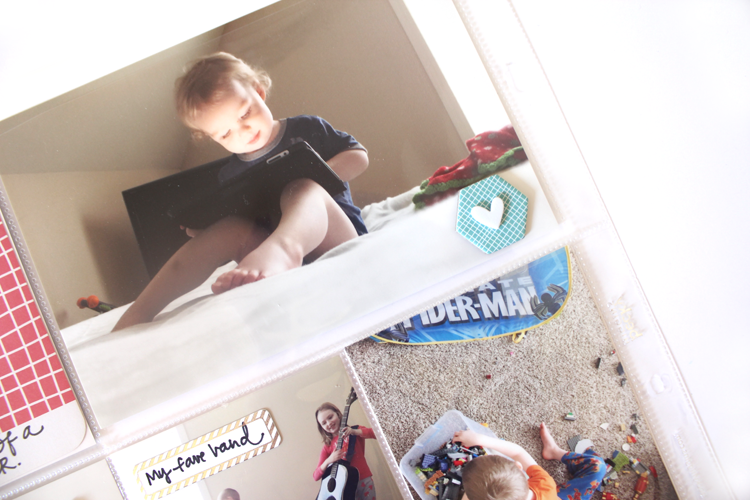
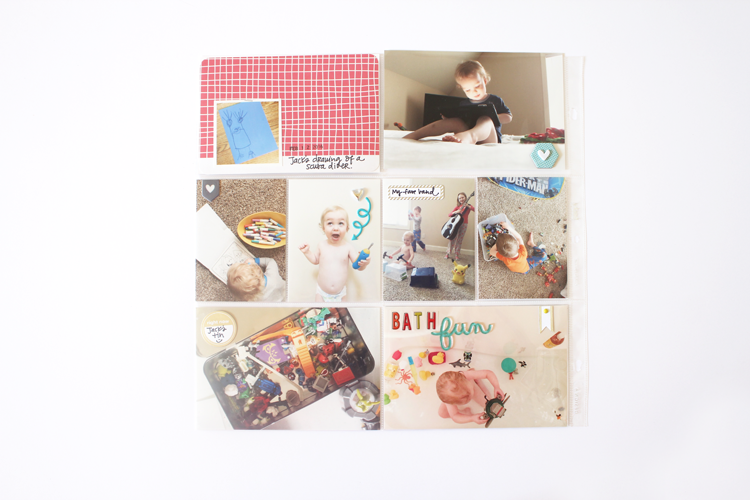
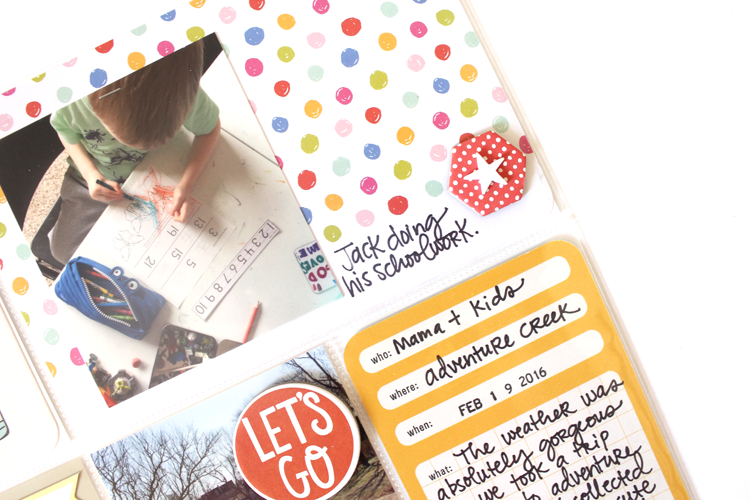
For this photo I used one of the hexagon chipboard shapes and then added an older white foam heart sticker to the center of it. That heart sticker was from an older Freckled Fawn kit. You can also see that I used another silver foil label sticker on a photo below that one, too. :)
Here’s a better shot of that. :) 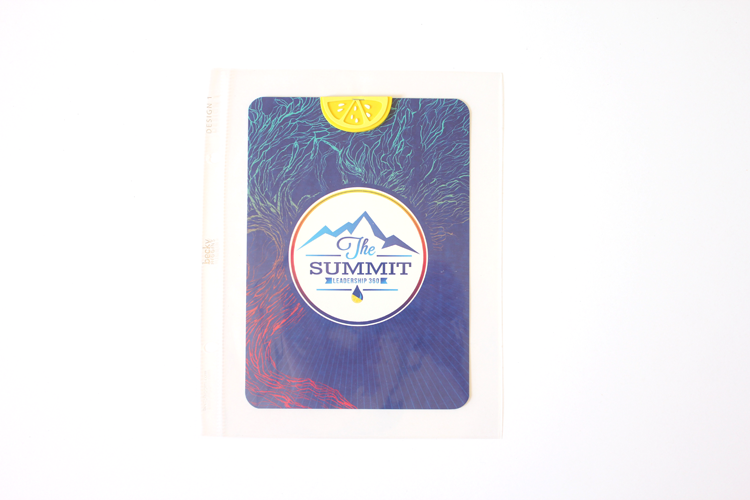
I also wanted to include this invitation to a leadership retreat for my oil business and so I just slipped it into a DESIGN 1 6×8 page protector and I stapled the cute little lemon slice directly on the page protector and so the invitation doesn’t slip around, etc. I used a little lemon slice because I’m a part of a group of oil lovers called the Lemon Droppers and so it was perfect. That lemon slice is actually from an older Studio Calico kit.
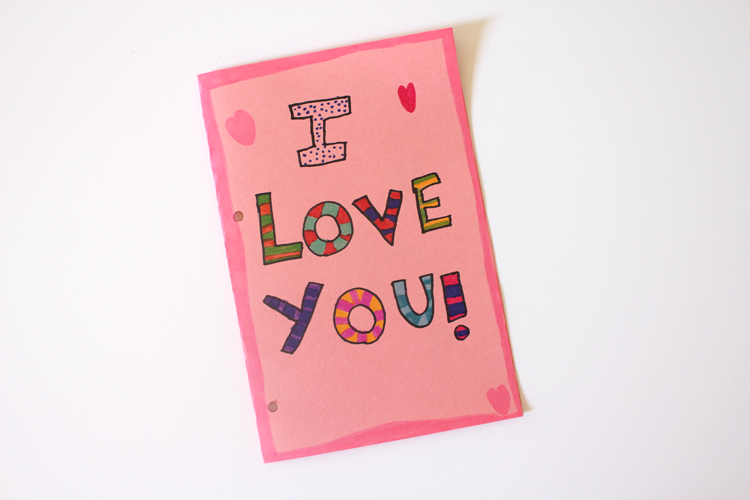
My daughter also made me this sweet card during this time and so I simply punched a couple of holes in it and stuck it in the spread, too. :) Sometimes I take a photo of the things my kids make me, sometimes I put them in page protectors or pocket pages and then sometimes I stick the actual thing in the album. Just depends on how I’m feeling, I guess. Ha! 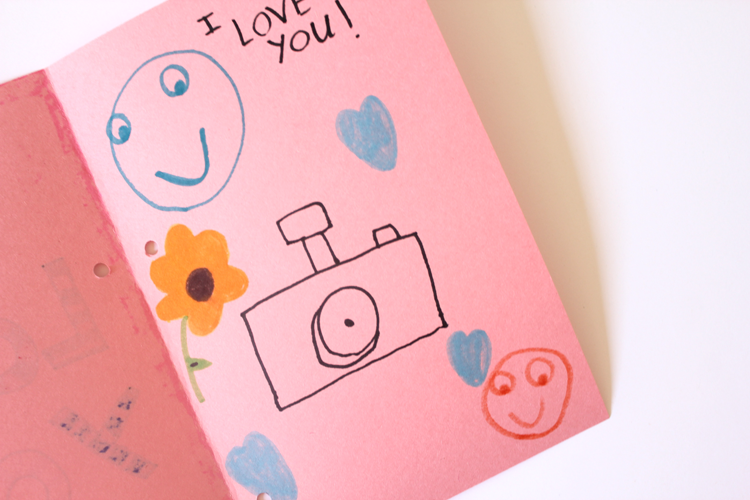
I love how she drew a camera on the inside. SO darling. ;) 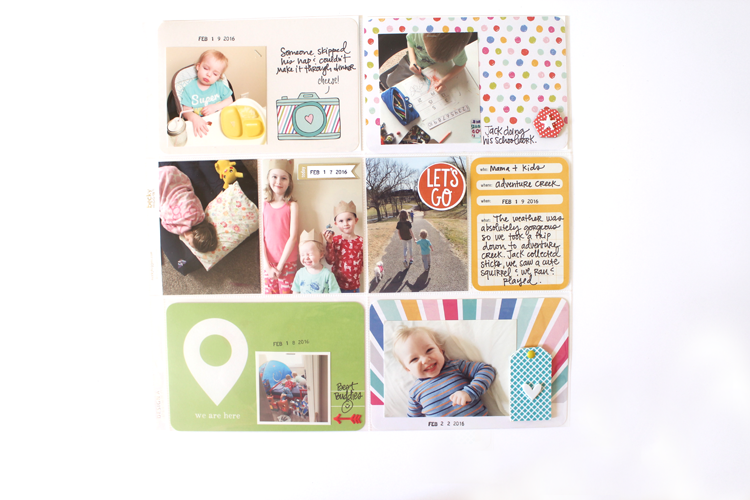
I used another patterned hexagon chipboard piece and attached it to the 4×6 journaling card. I put another foam shape in the middle of it. I love the layered look!
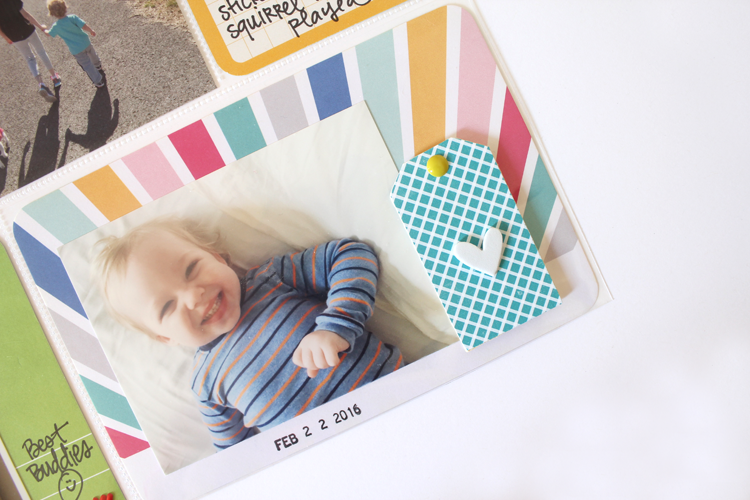
I decided to use some patterned paper and cover one of the wooden tags that are included in the kit. This is one of the smaller tags. I just simply added some adhesive on it, placed it on a scrap piece of patterned paper and then cut around it. Did the same thing to the other side. Then I added an emamel dot to the middle front and added a foam heart sticker to it. Loved the way it turned out!
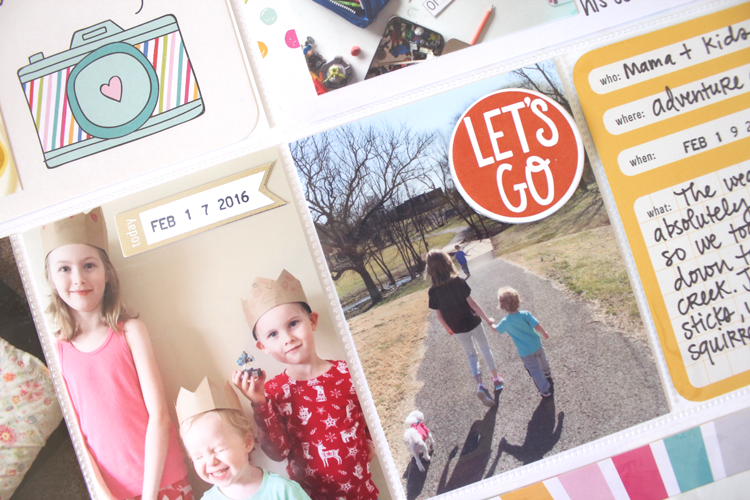
I added the “LET’S GO” chipboard piece to a photograph and then used another silver foil label on another photo for the date. :)
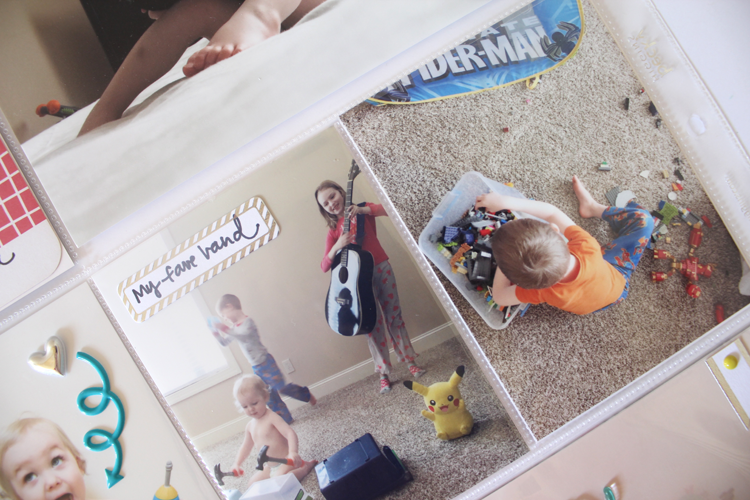
I seriously can’t get enough of the puffy arrow stickers either. I used one on this journaling card to point to the small 2×2 photo. :)
And there you have it. I still have some great embellishments left over to use on future projects, too! I’m super happy about that! I’d love to see how YOU’RE documenting your life! Leave me a link in the comments section!
XO!